Lunar Tech Misadventures 002
Repairing a Nikon D80 DSLR Camera
2023-02-01
This post is based on a thread I wrote over the course of 3 days on Mastodon during summer vacation back in 2021.
So the paragraphs will just basically be posts copied from there, with some slight adjustments where needed.
(This has largely been adding/rewriting missing/bad alt text for like half of the pictures)
Again this is a story from the past, written in the past, and it will reference some things from the perspective of me 2 years ago.
At the time I just finished highschool and now I'm a second year university student.
Introduction
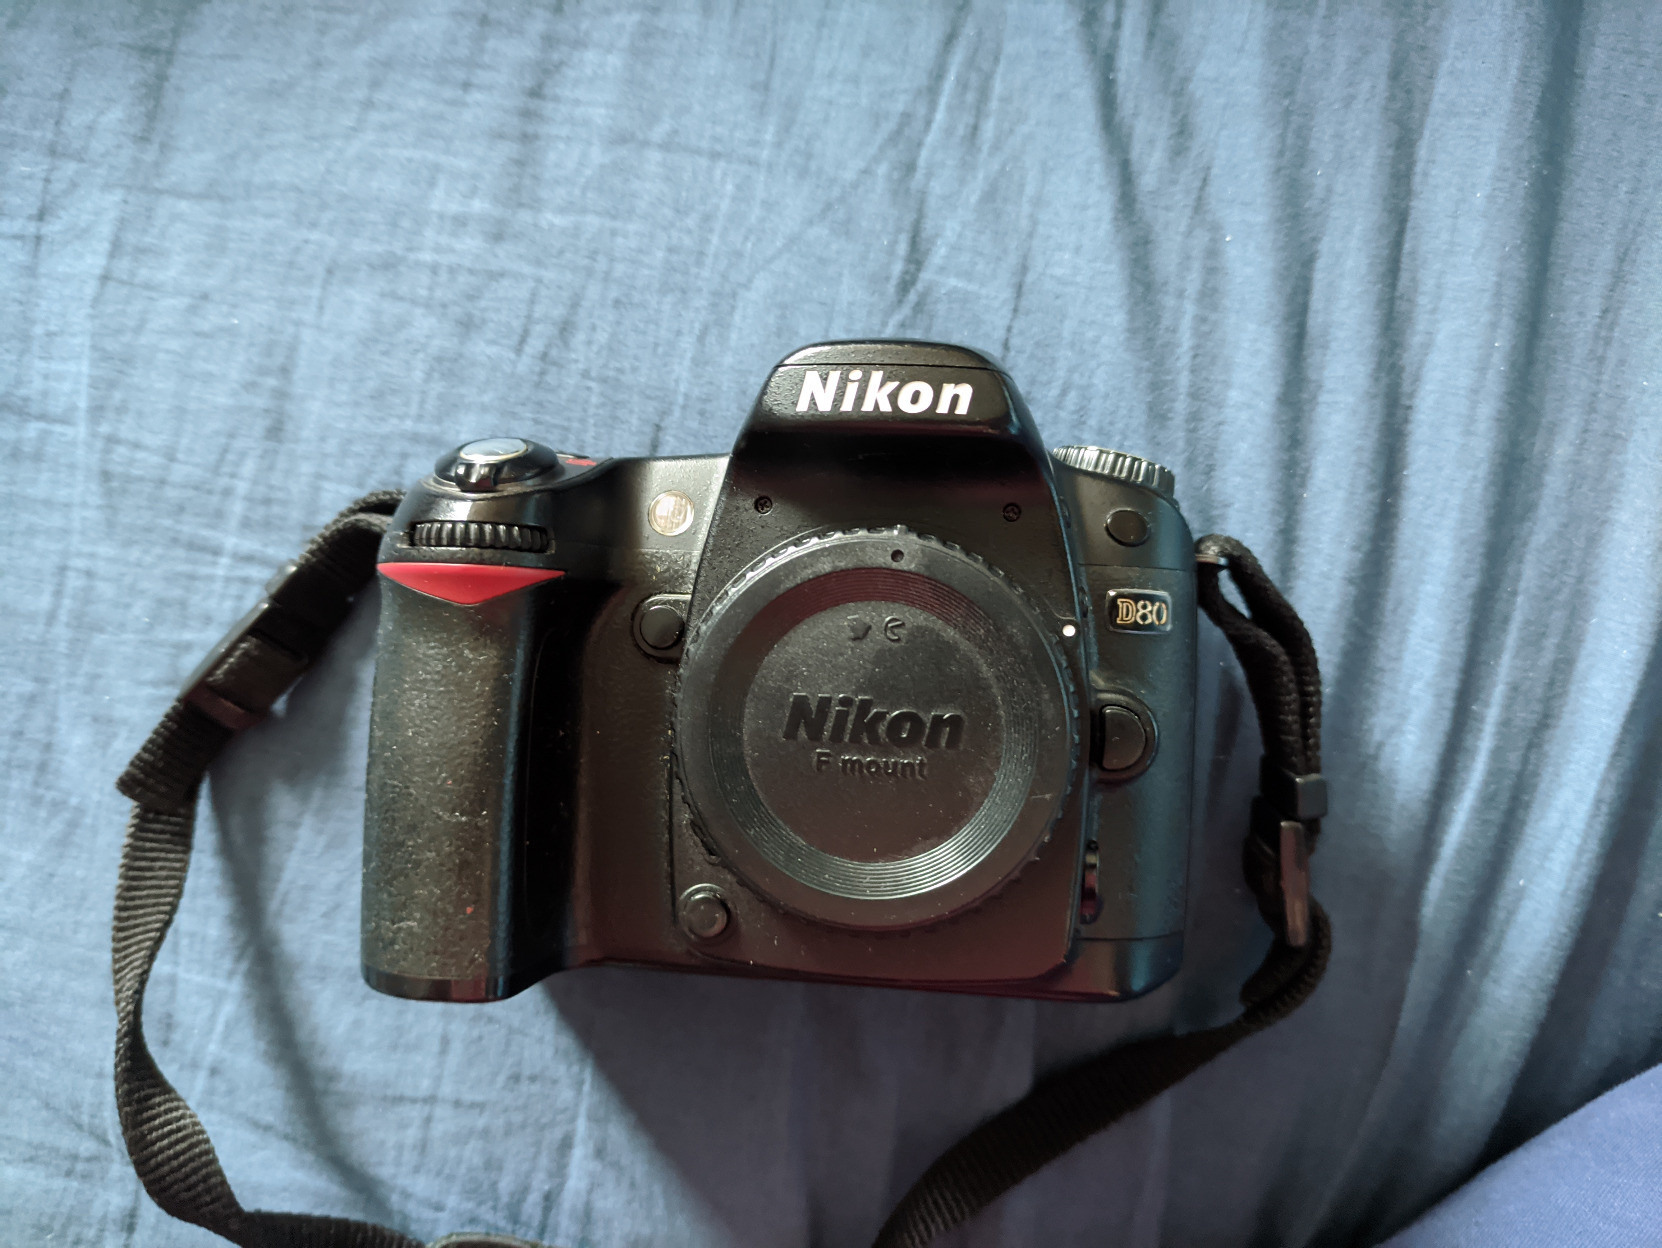
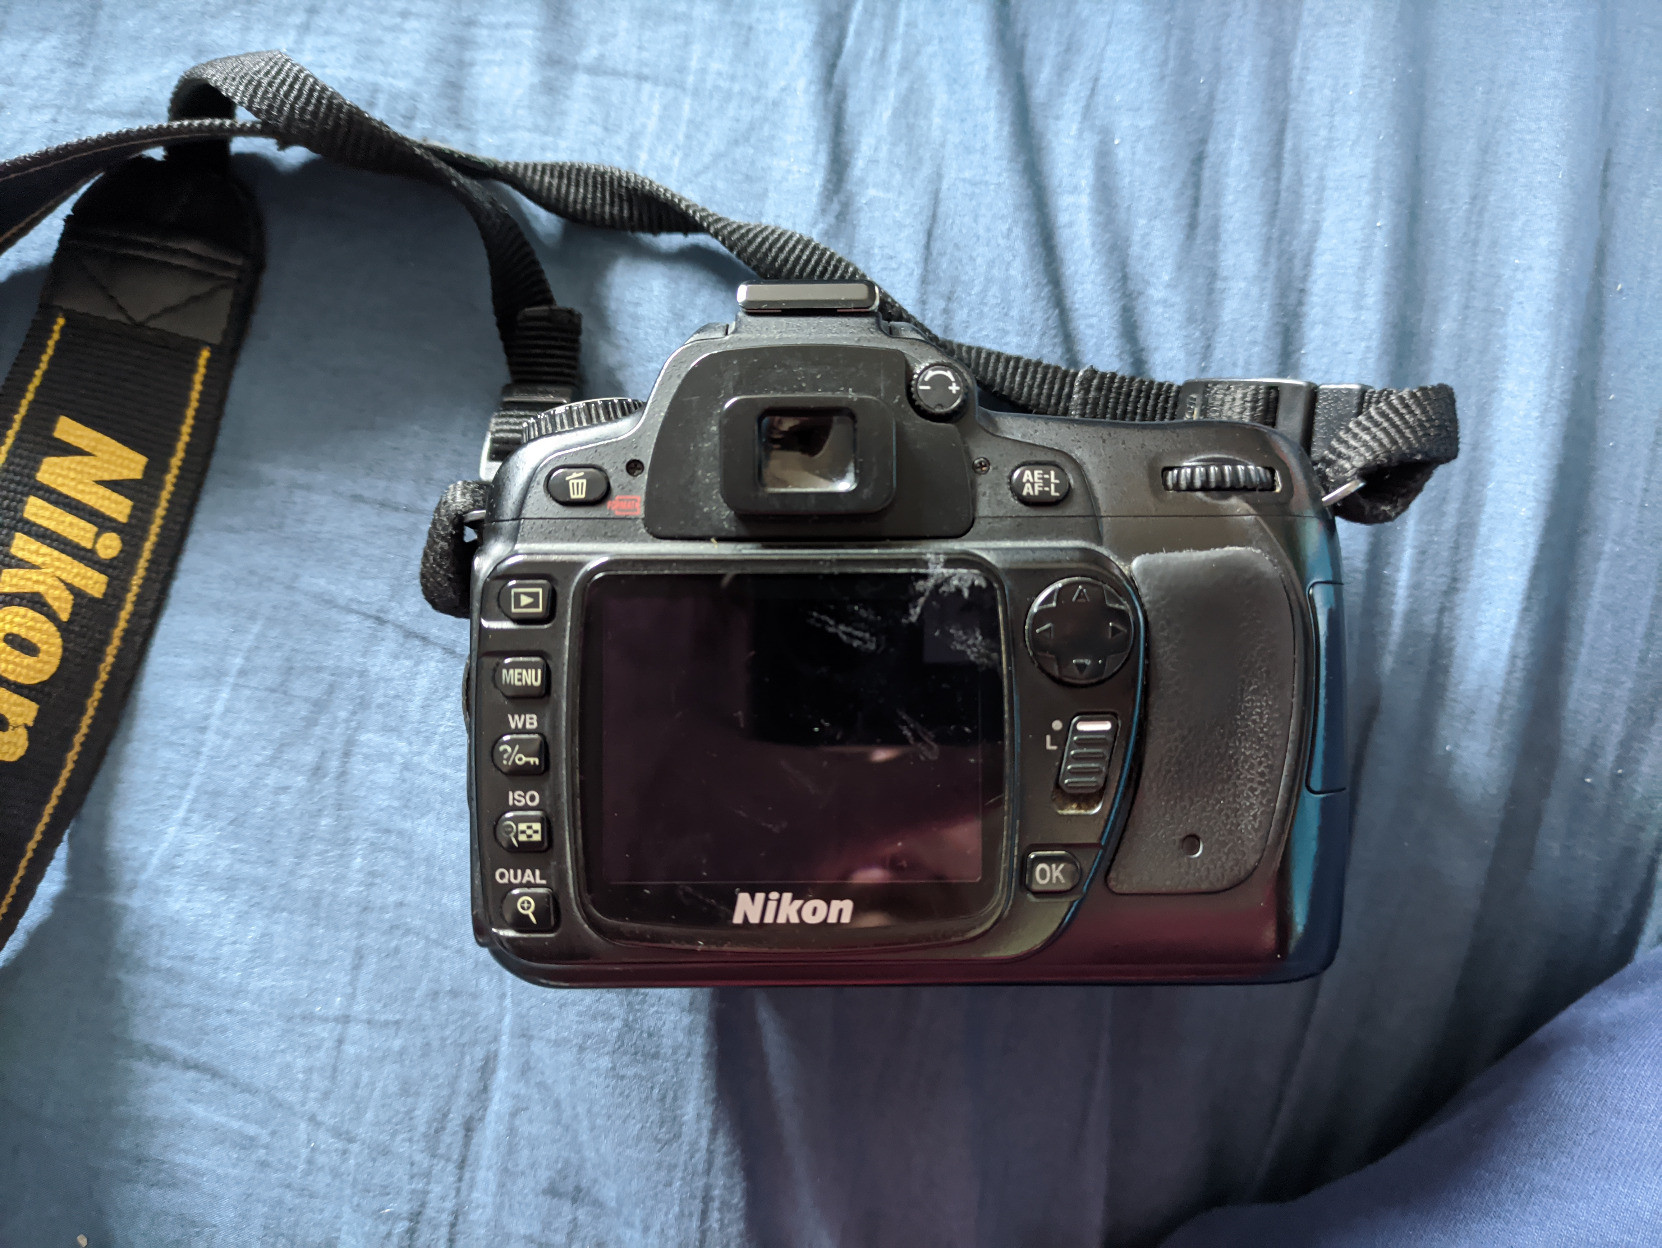
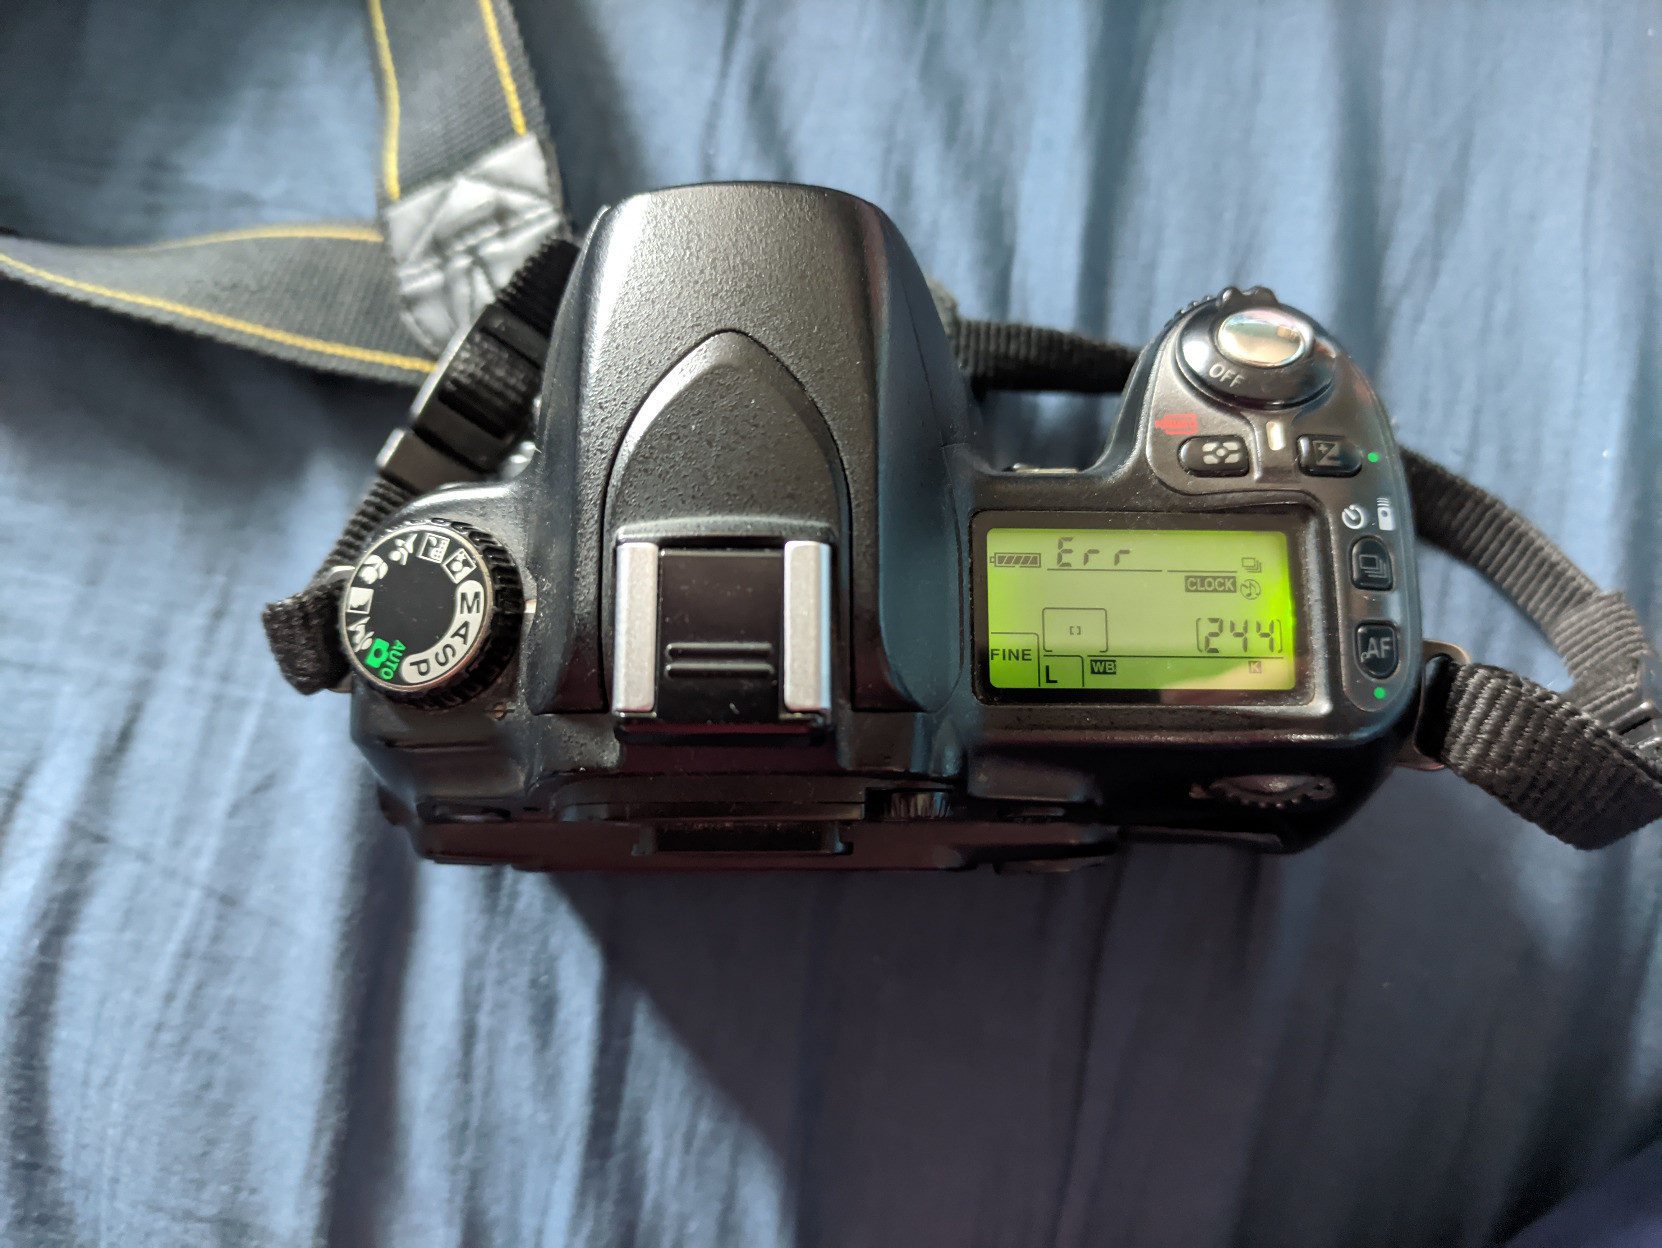
2021-06-05I've been into photography for a very long time. At first I used a pocket camera my parents won in a competition. Later, still in kindergarten, I got my own Canon A495. Eventually my parents got the first camera that really let me taste advanced photography - the Nikon D80 - which will be the star of this thread. At just over 79 000 photos taken, unfortunately the camera no longer works, only displaying "Err" on the top display. But that's not the end of the story...
At home, I now have access to a Nikon D3300 - a smaller, lighter and much newer camera. But, I plan to go to university, and I can't take that one with me (my sibling owns it). So, I decided I would see if I can repair the D80. After doing a bit of research, I found that on this model, this issue is usually caused by a small plastic part holding another piece in place breaking off, which could be fixed by either replacing it with a tiny screw or using superglue.
I have been planning to do this for a while, and now that I'm done with my finals and actually have the necessary free time, I am mostly ready to attempt fixing it. I spent this morning looking for the actual camera and it's charger, now I'll have to clean my desk to not get any dust or other debris inside the camera and prepare all the tools (there are a few cables that need to be desoldered and resoldered IIRC). I'll share my progress here later.
Disassembly
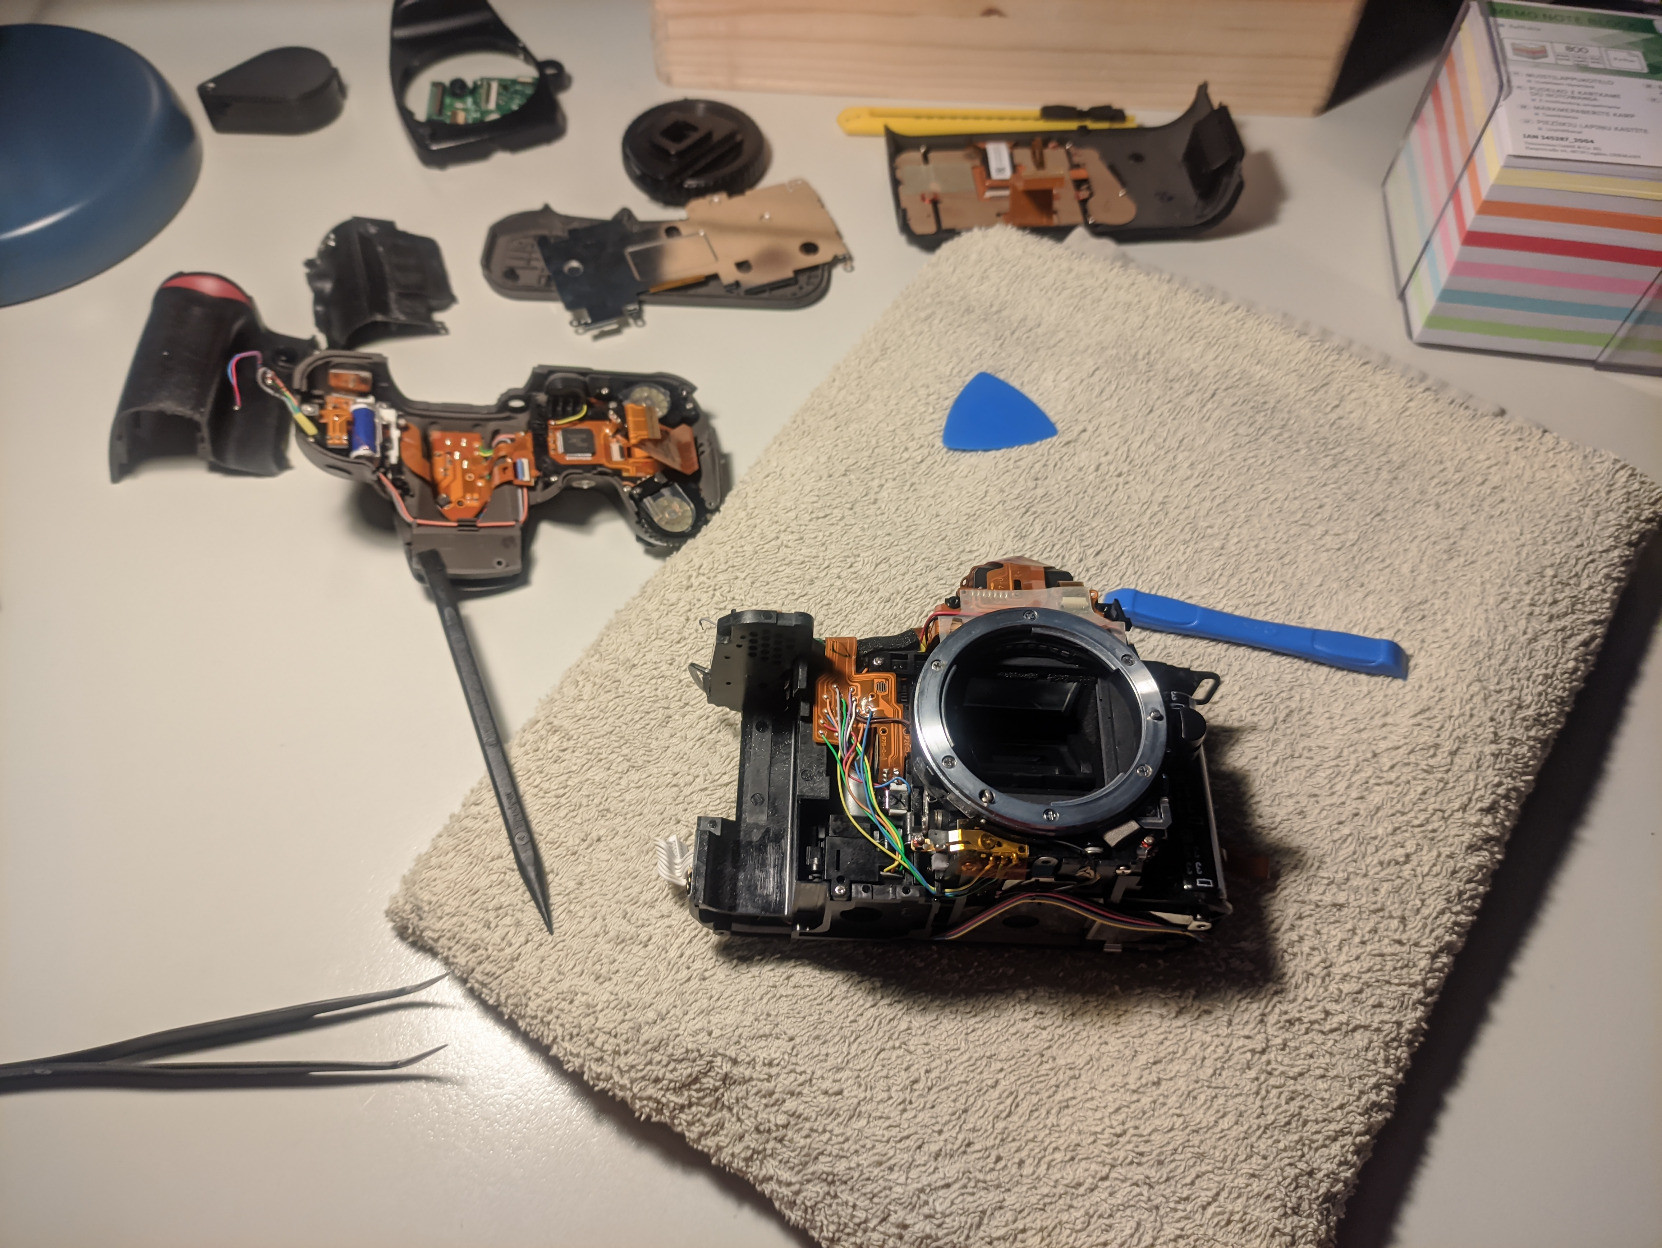
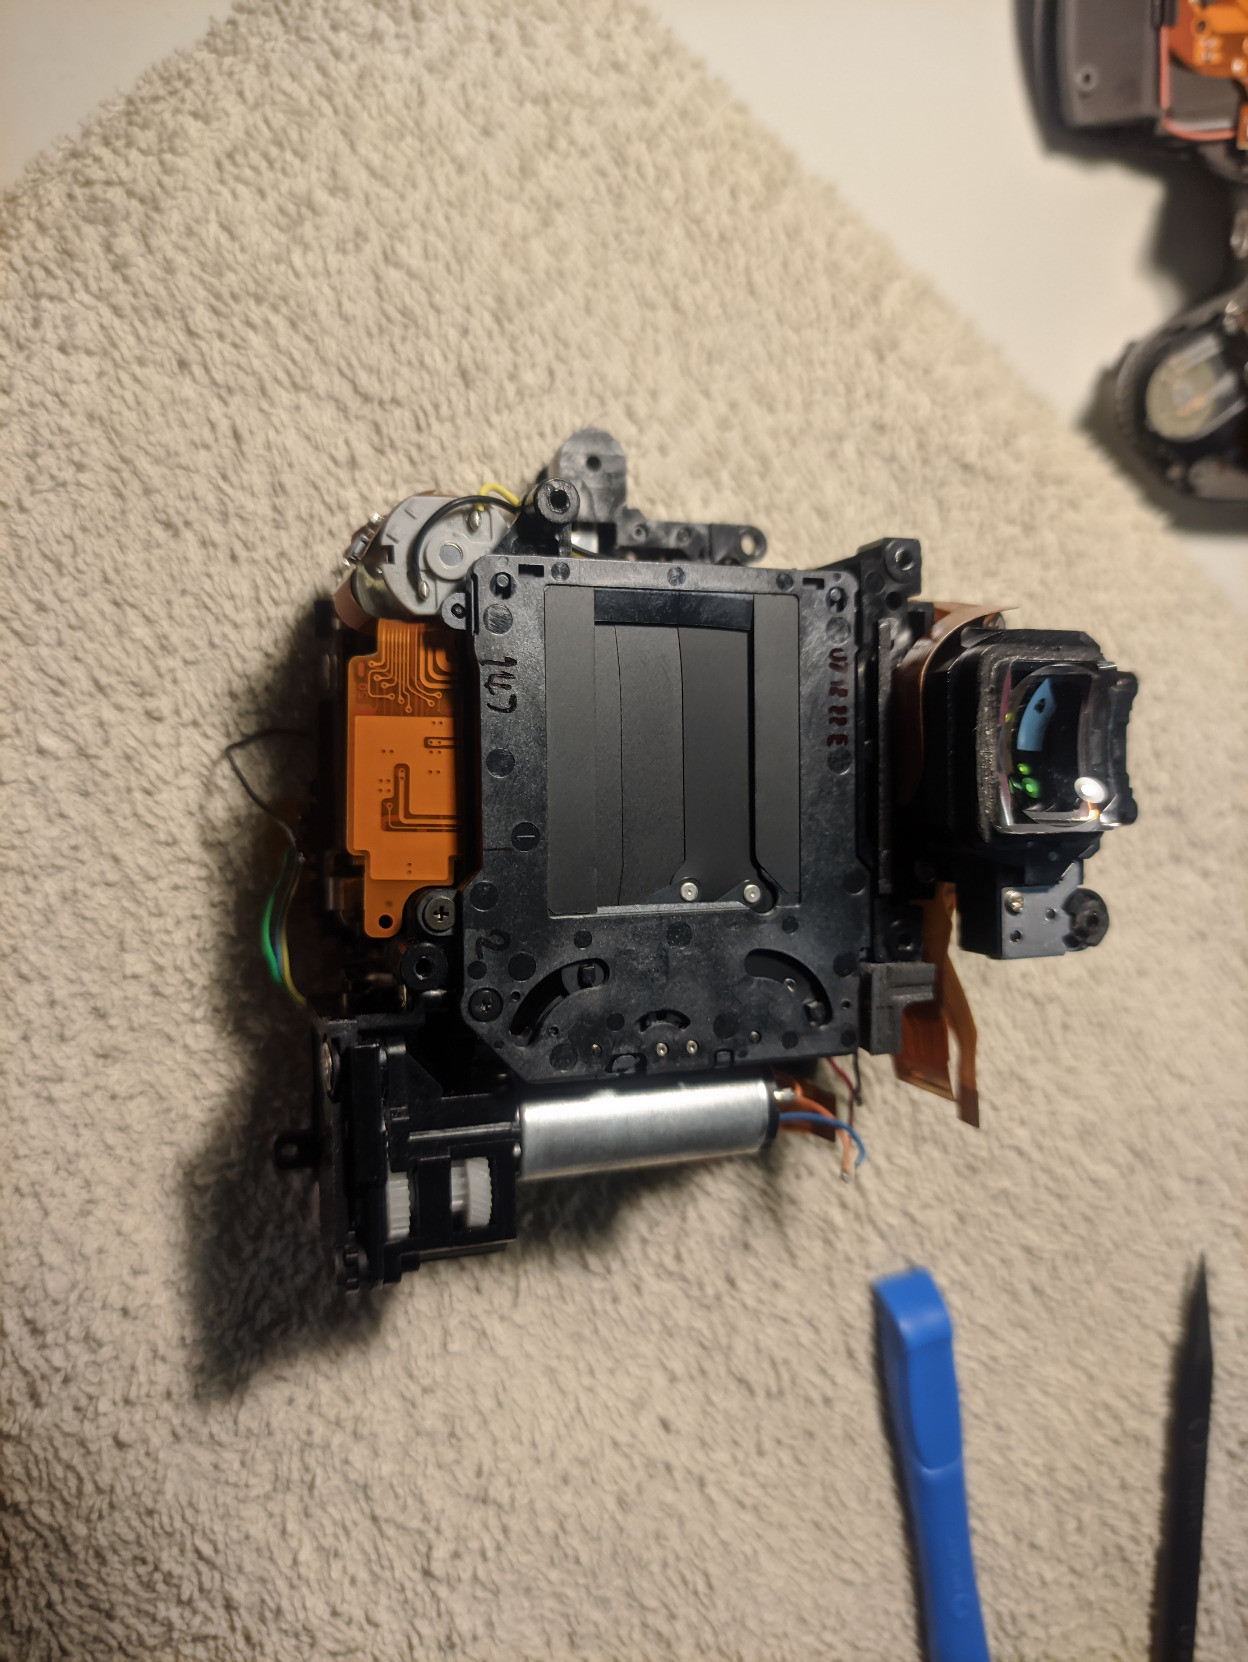
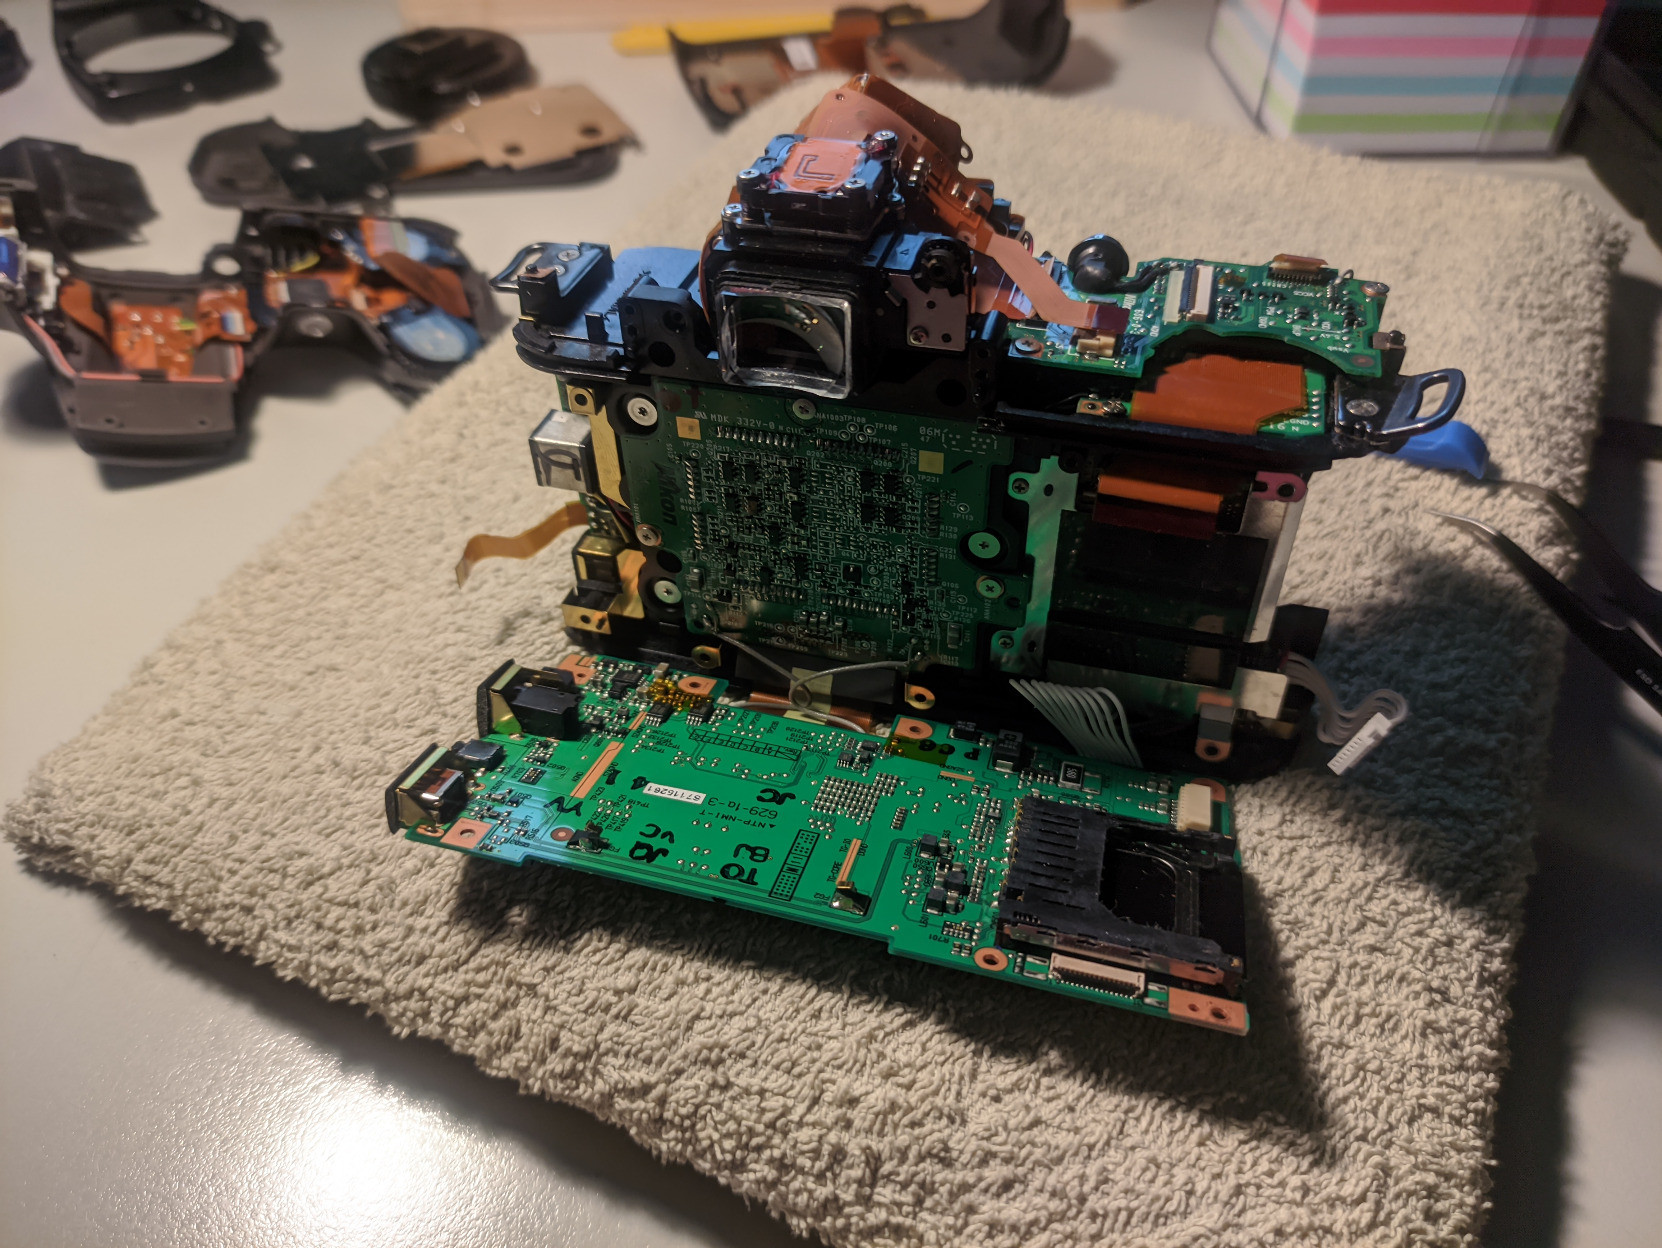
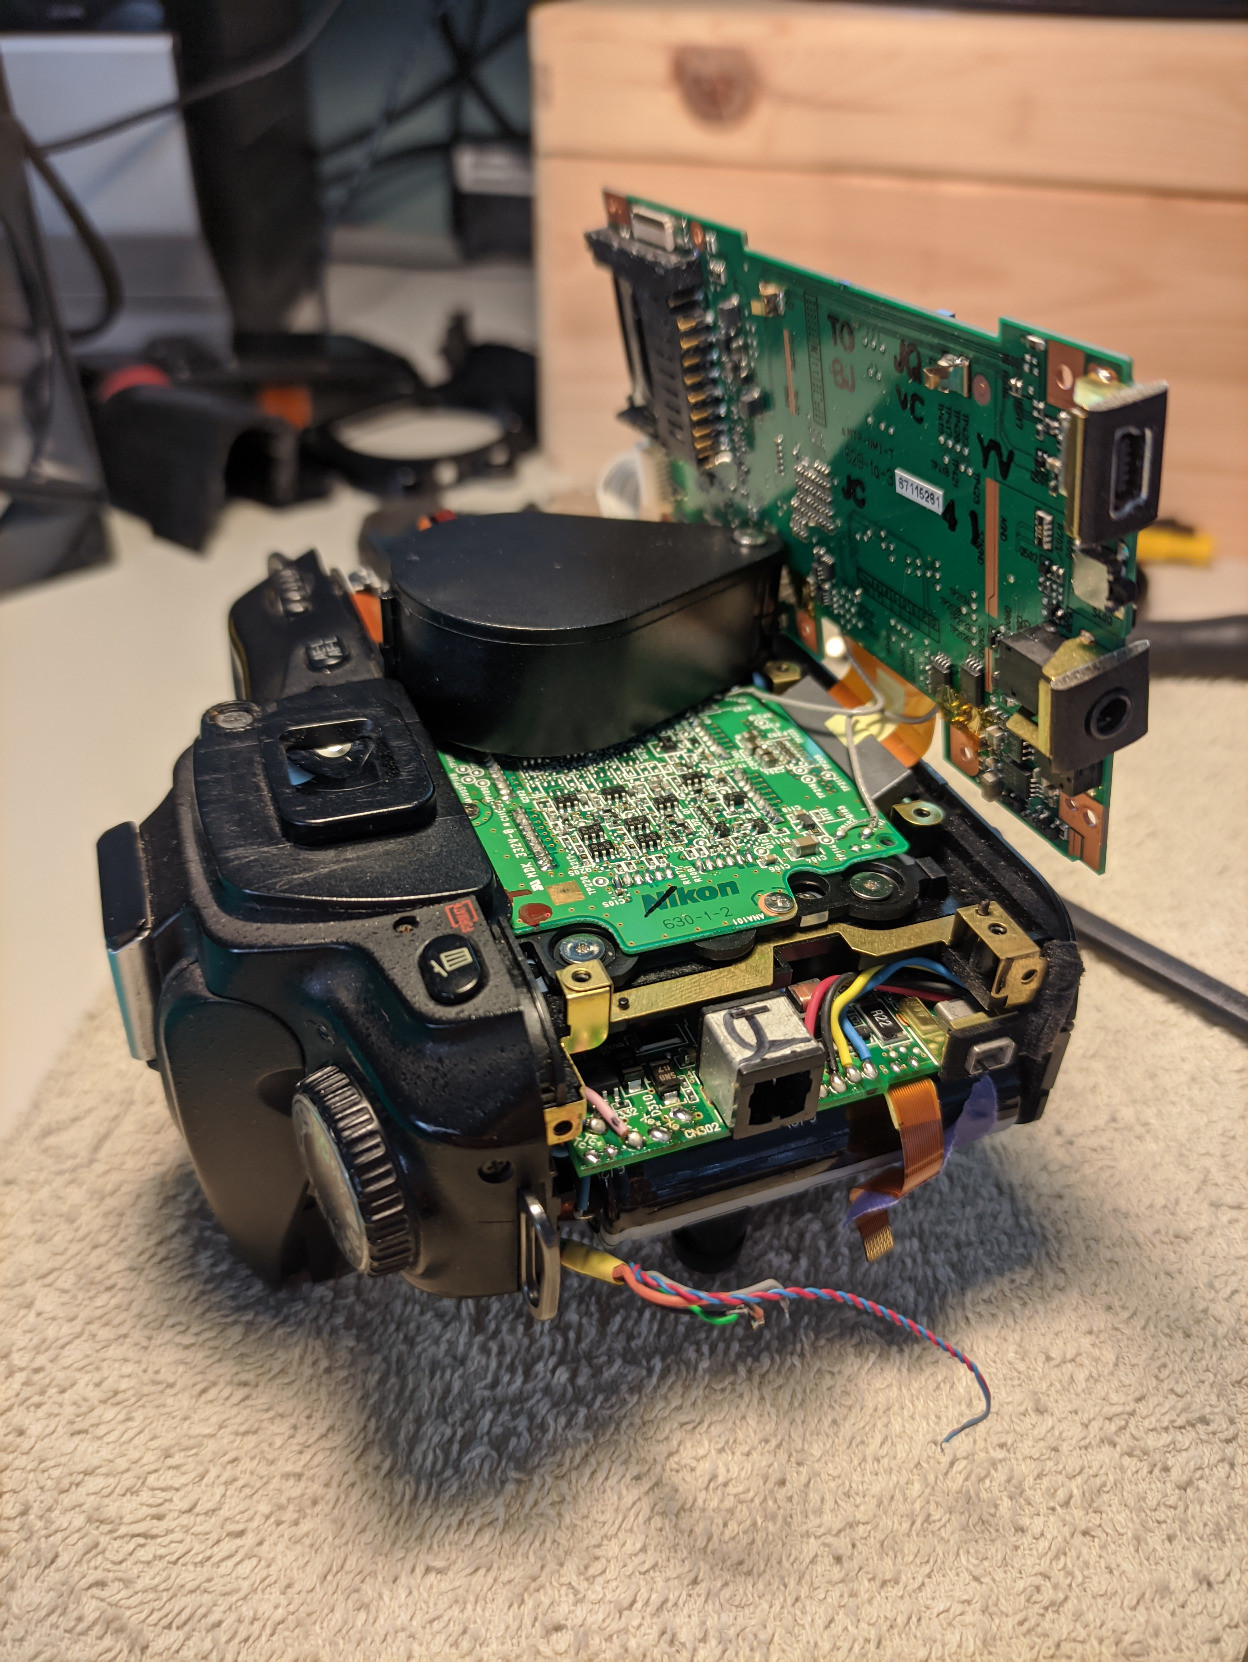
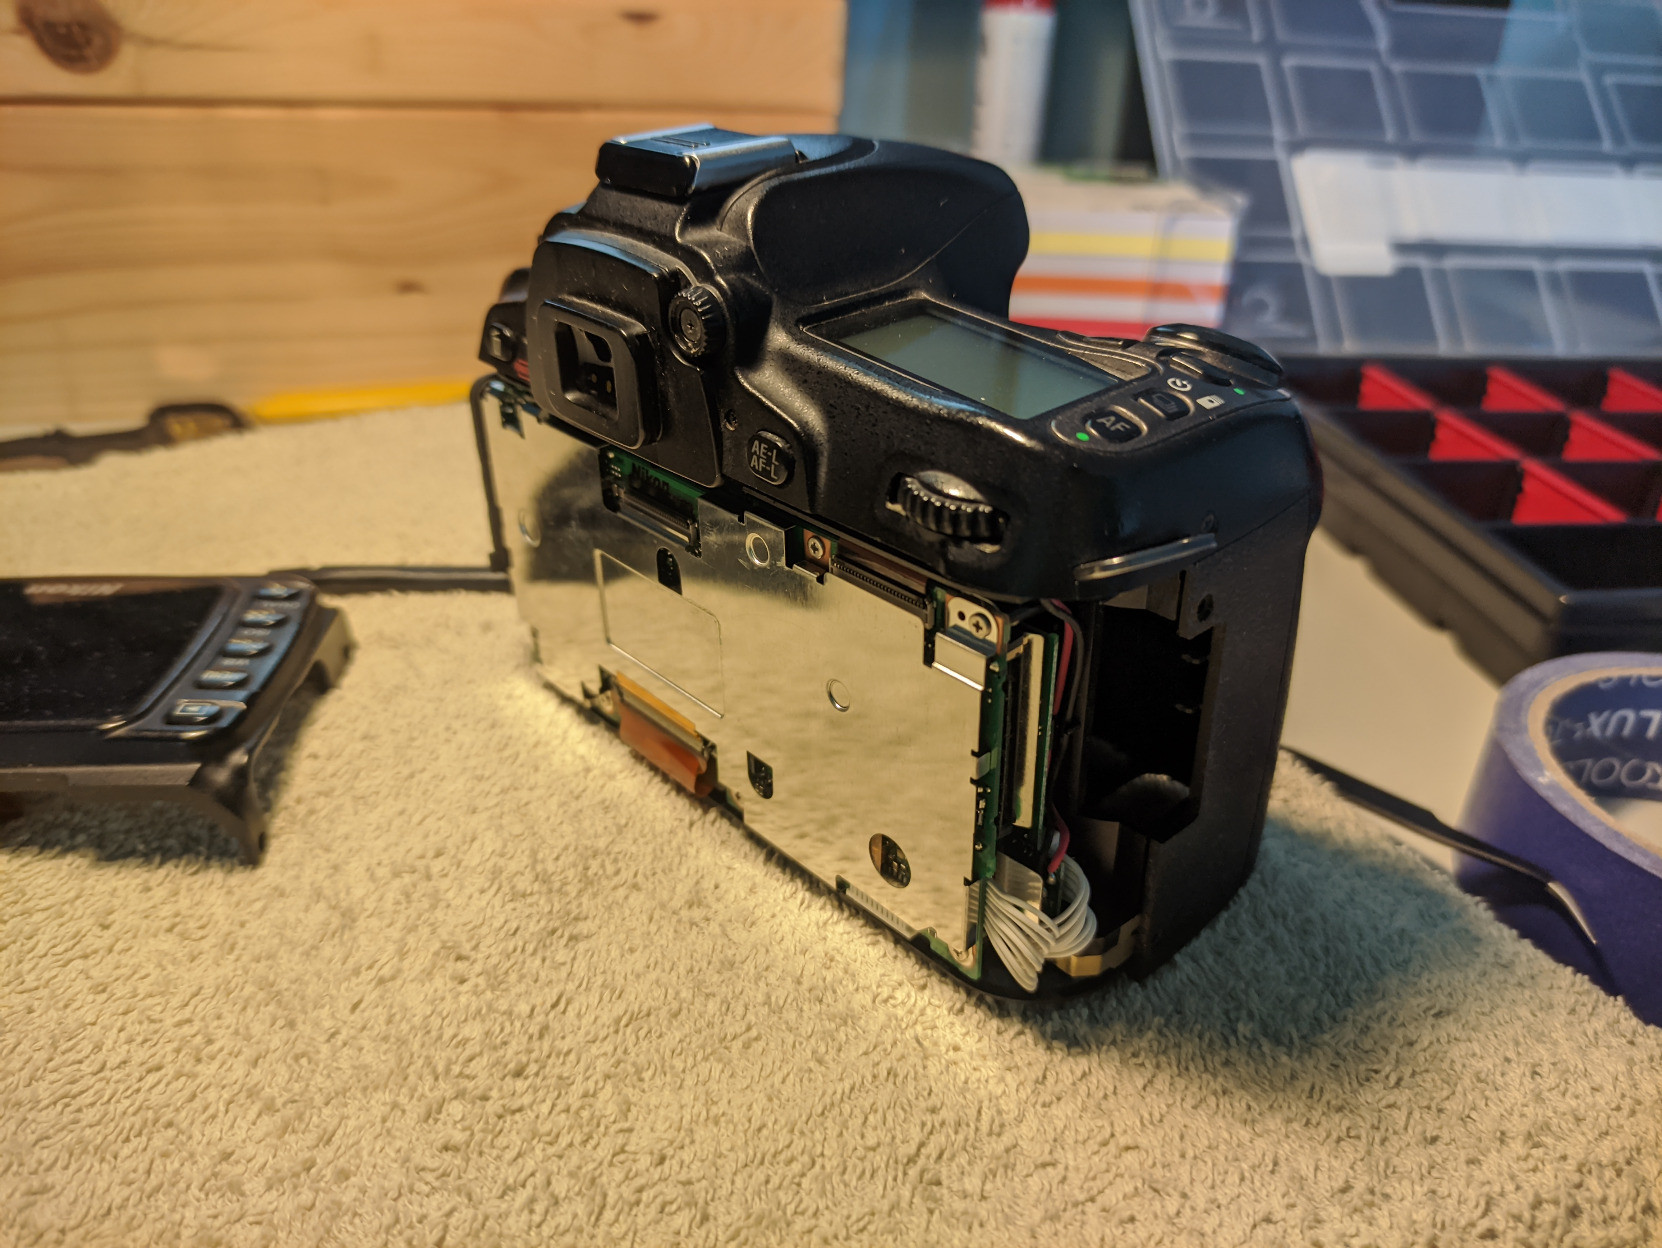
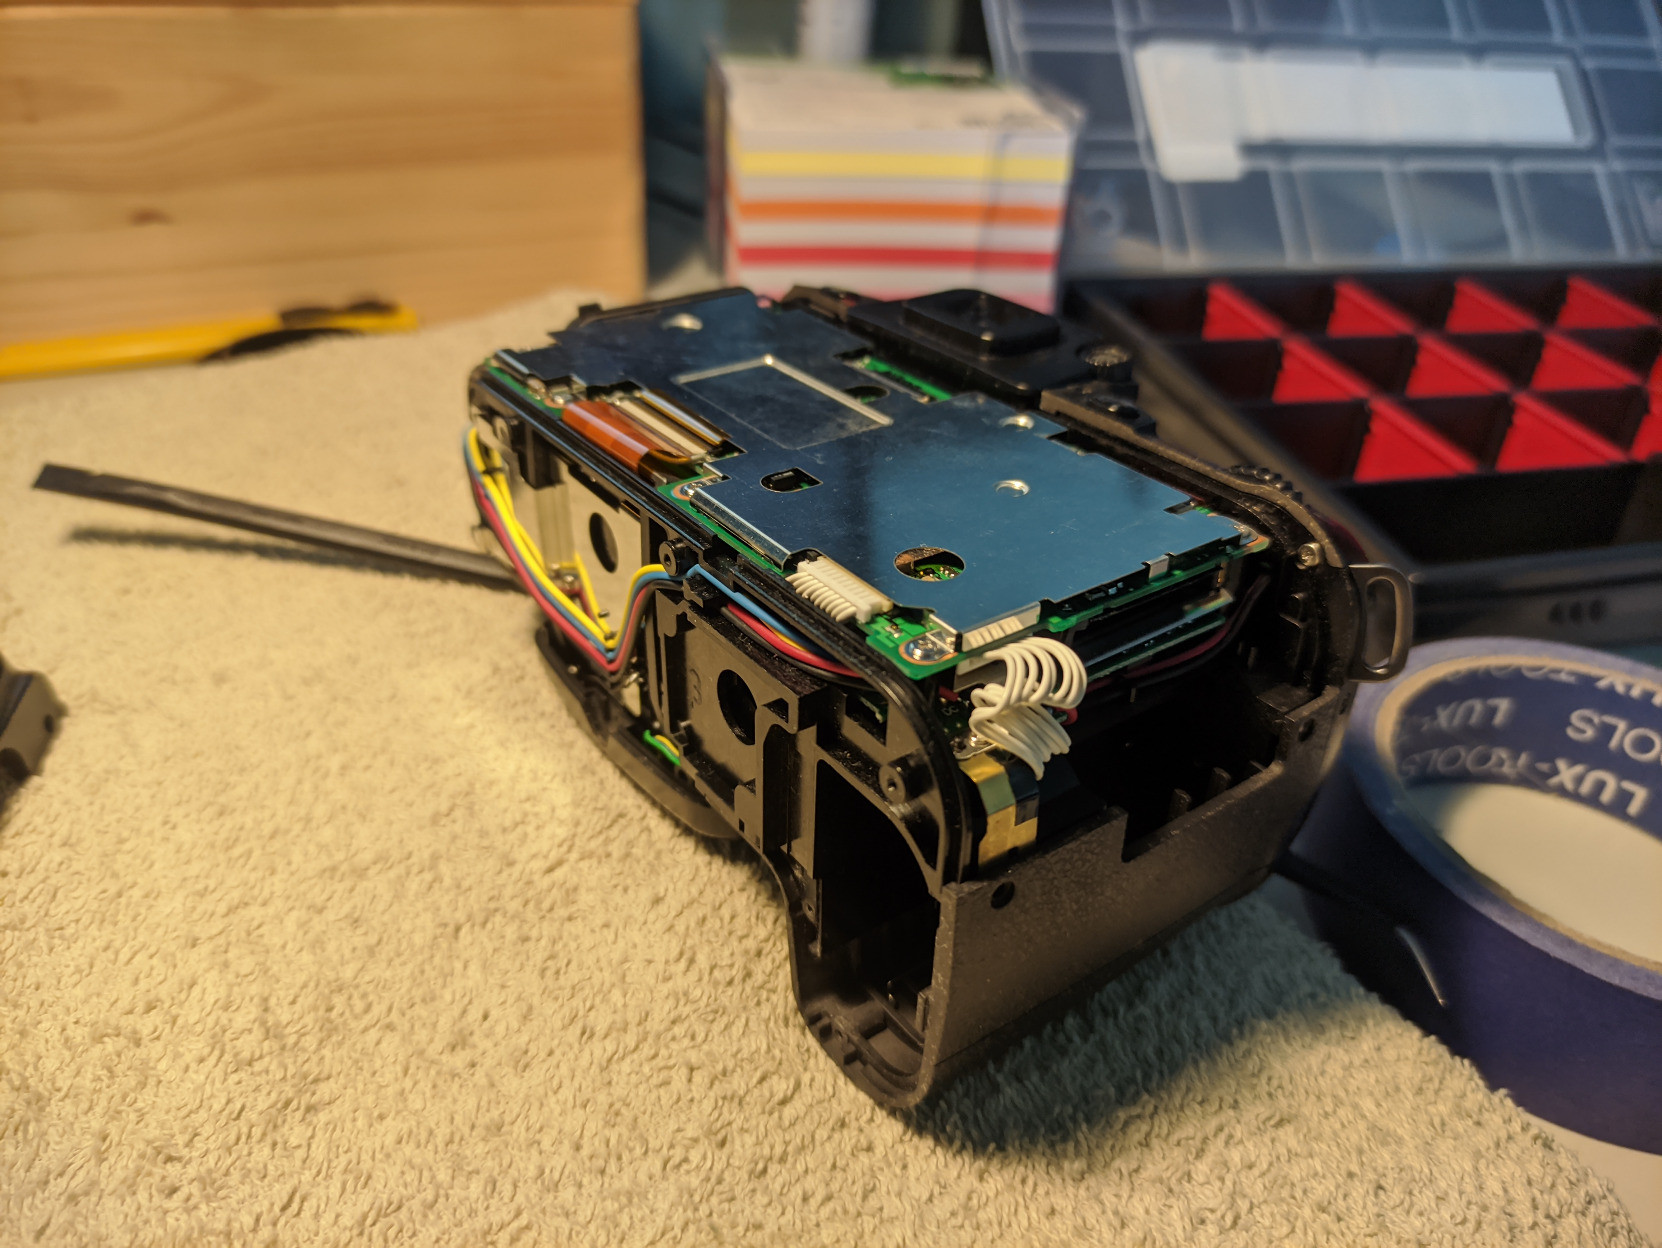
Update: I've mostly disassembled the camera (to the required degree), and am very close to getting access to the module that's likely broken. It went mostly smooth, except a few mishaps:
- breaking off one wire because I thought I wouldn't need to desolder it
- having a screw fall inside the assembly, which fortunately turned out to not be a big deal
- despite my best efforts, getting 2 specks of dust on the sensor (I ended up blowing those off with compressed air, which didn't work perfectly but it's fine for my needs)
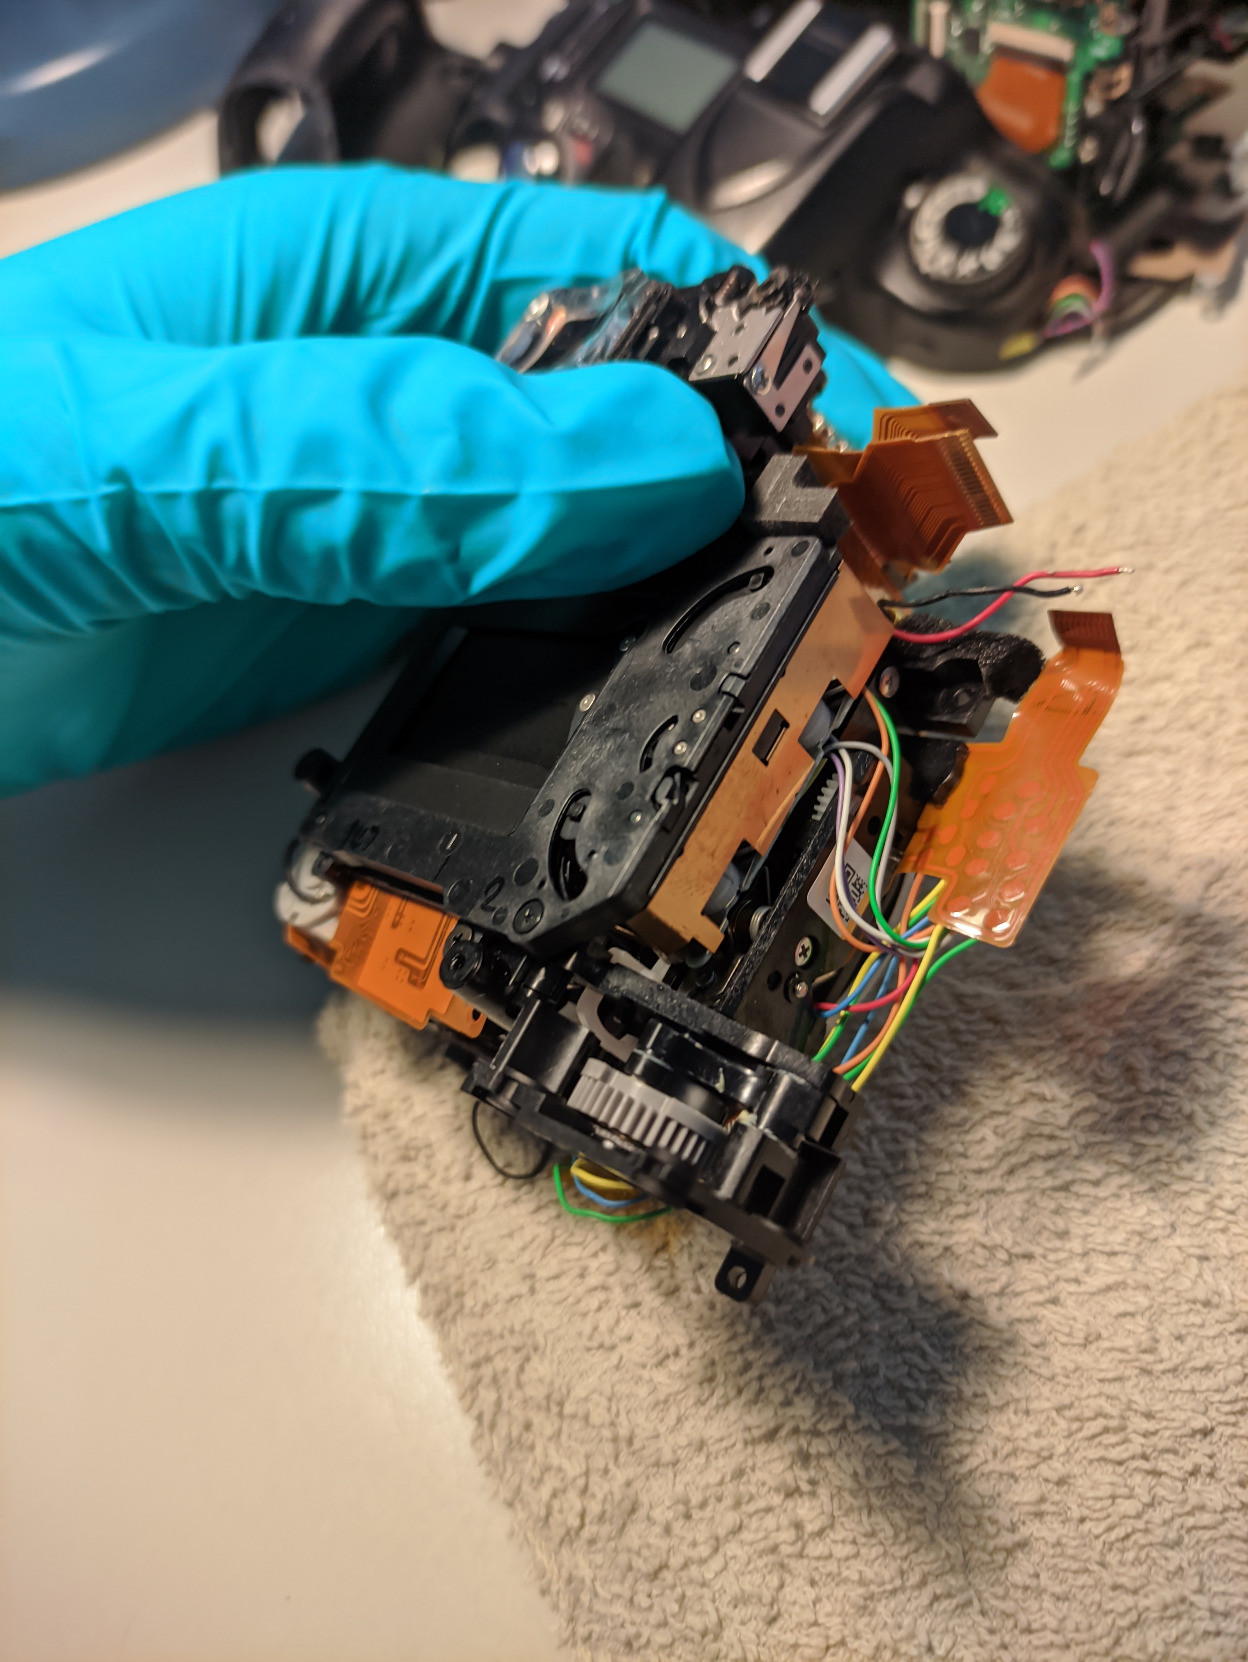
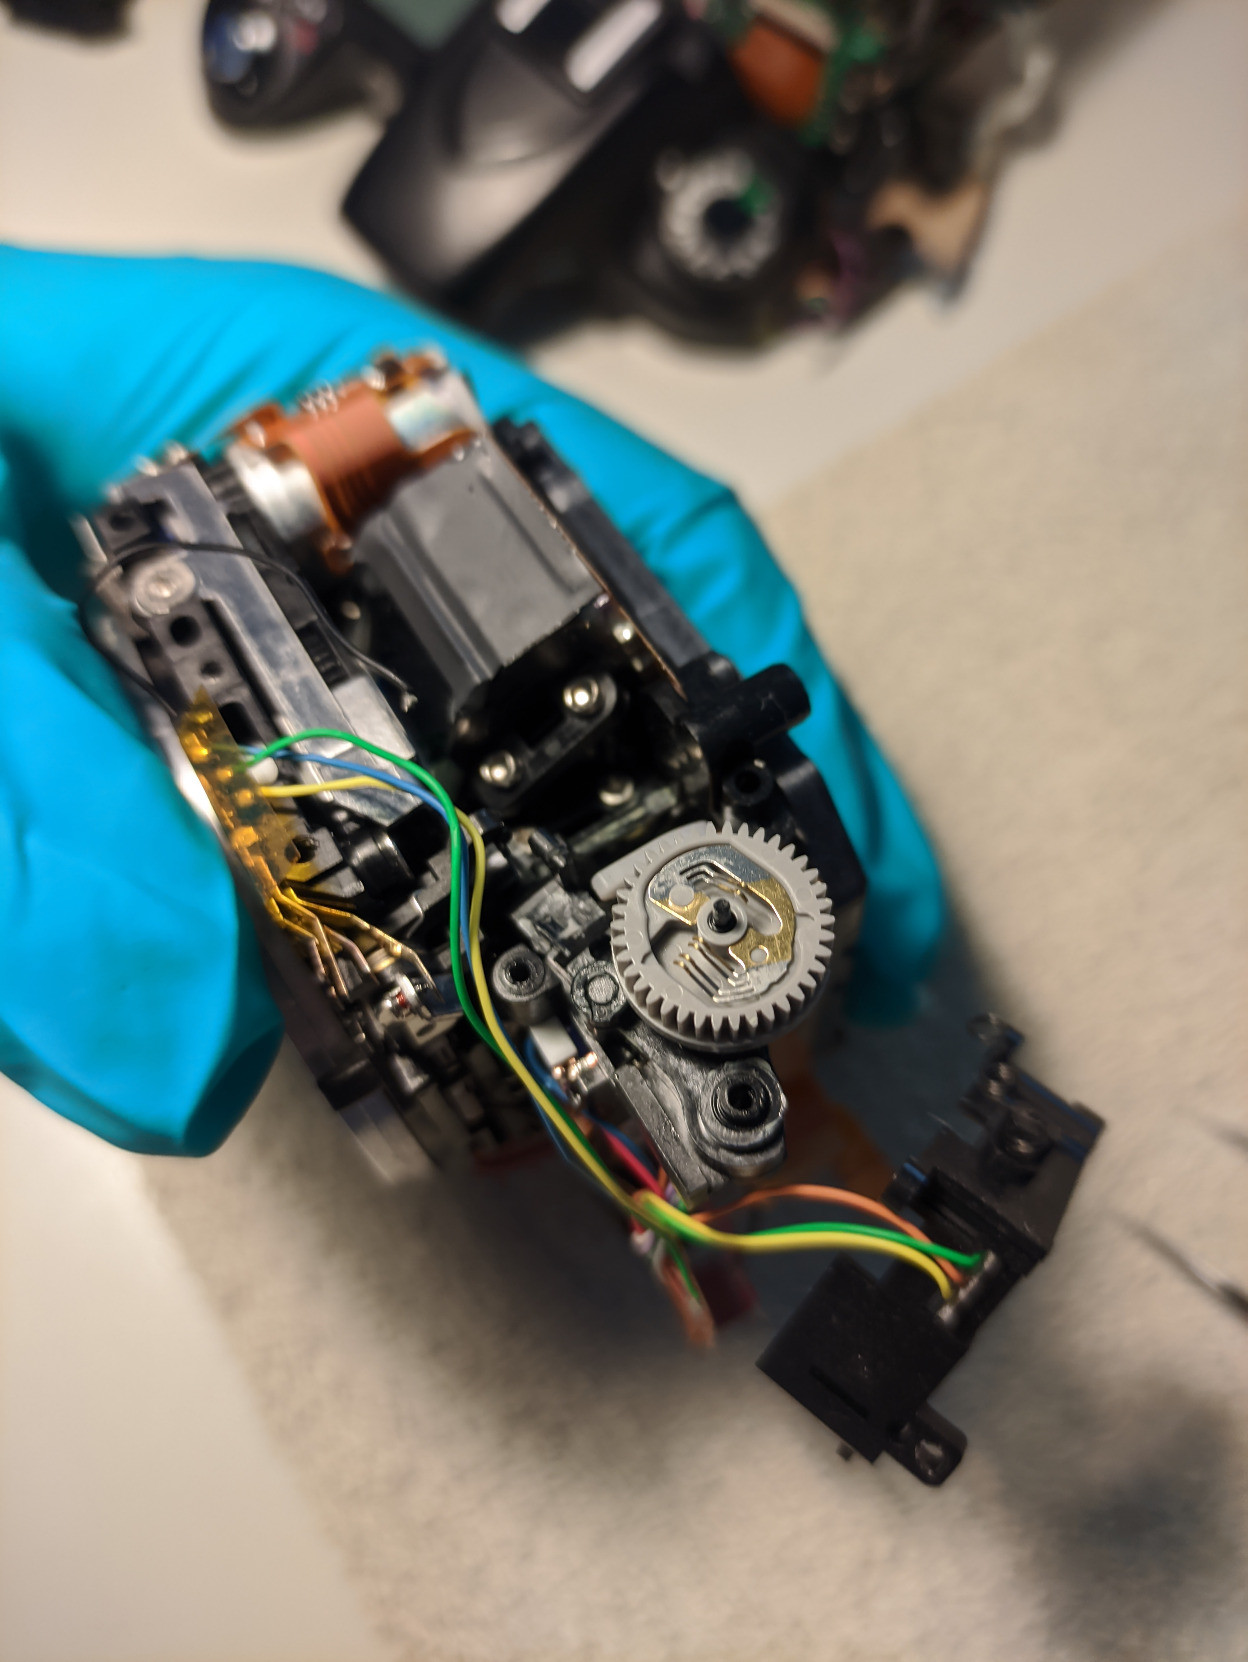
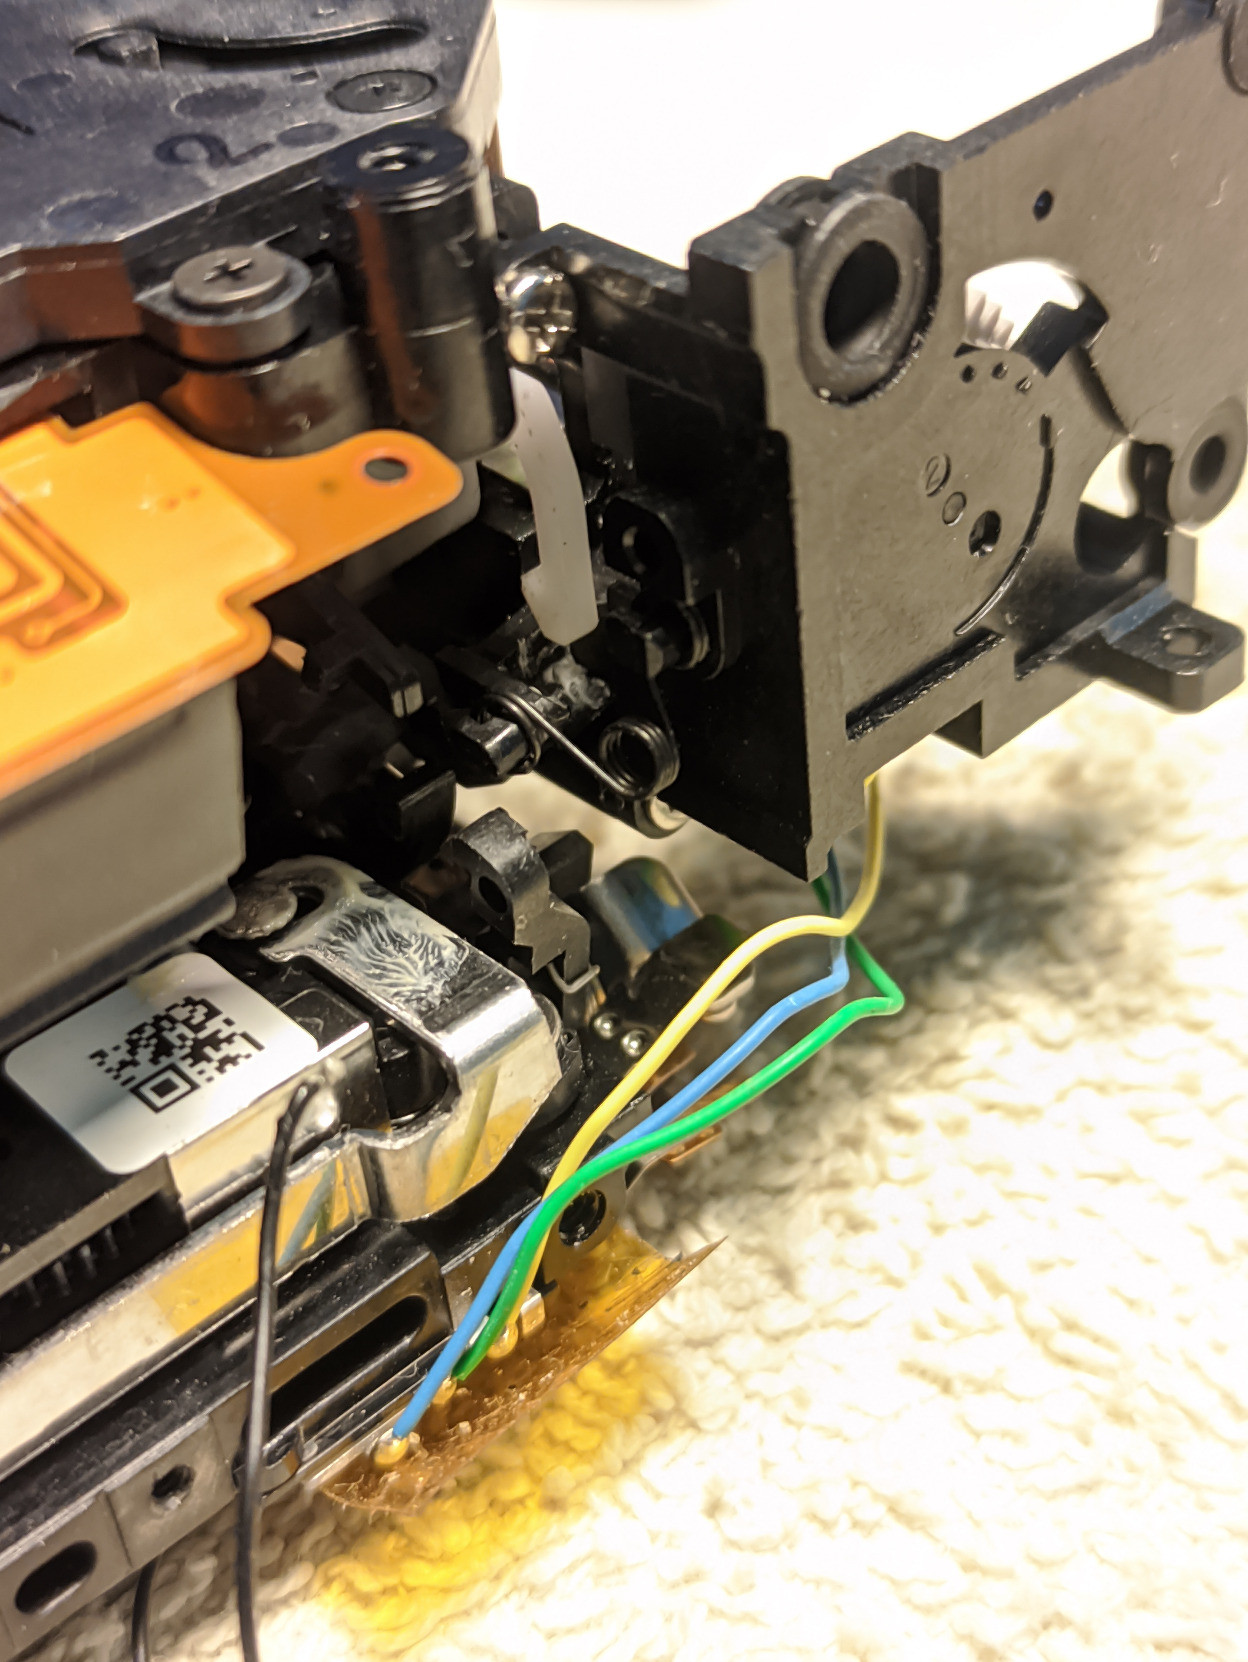
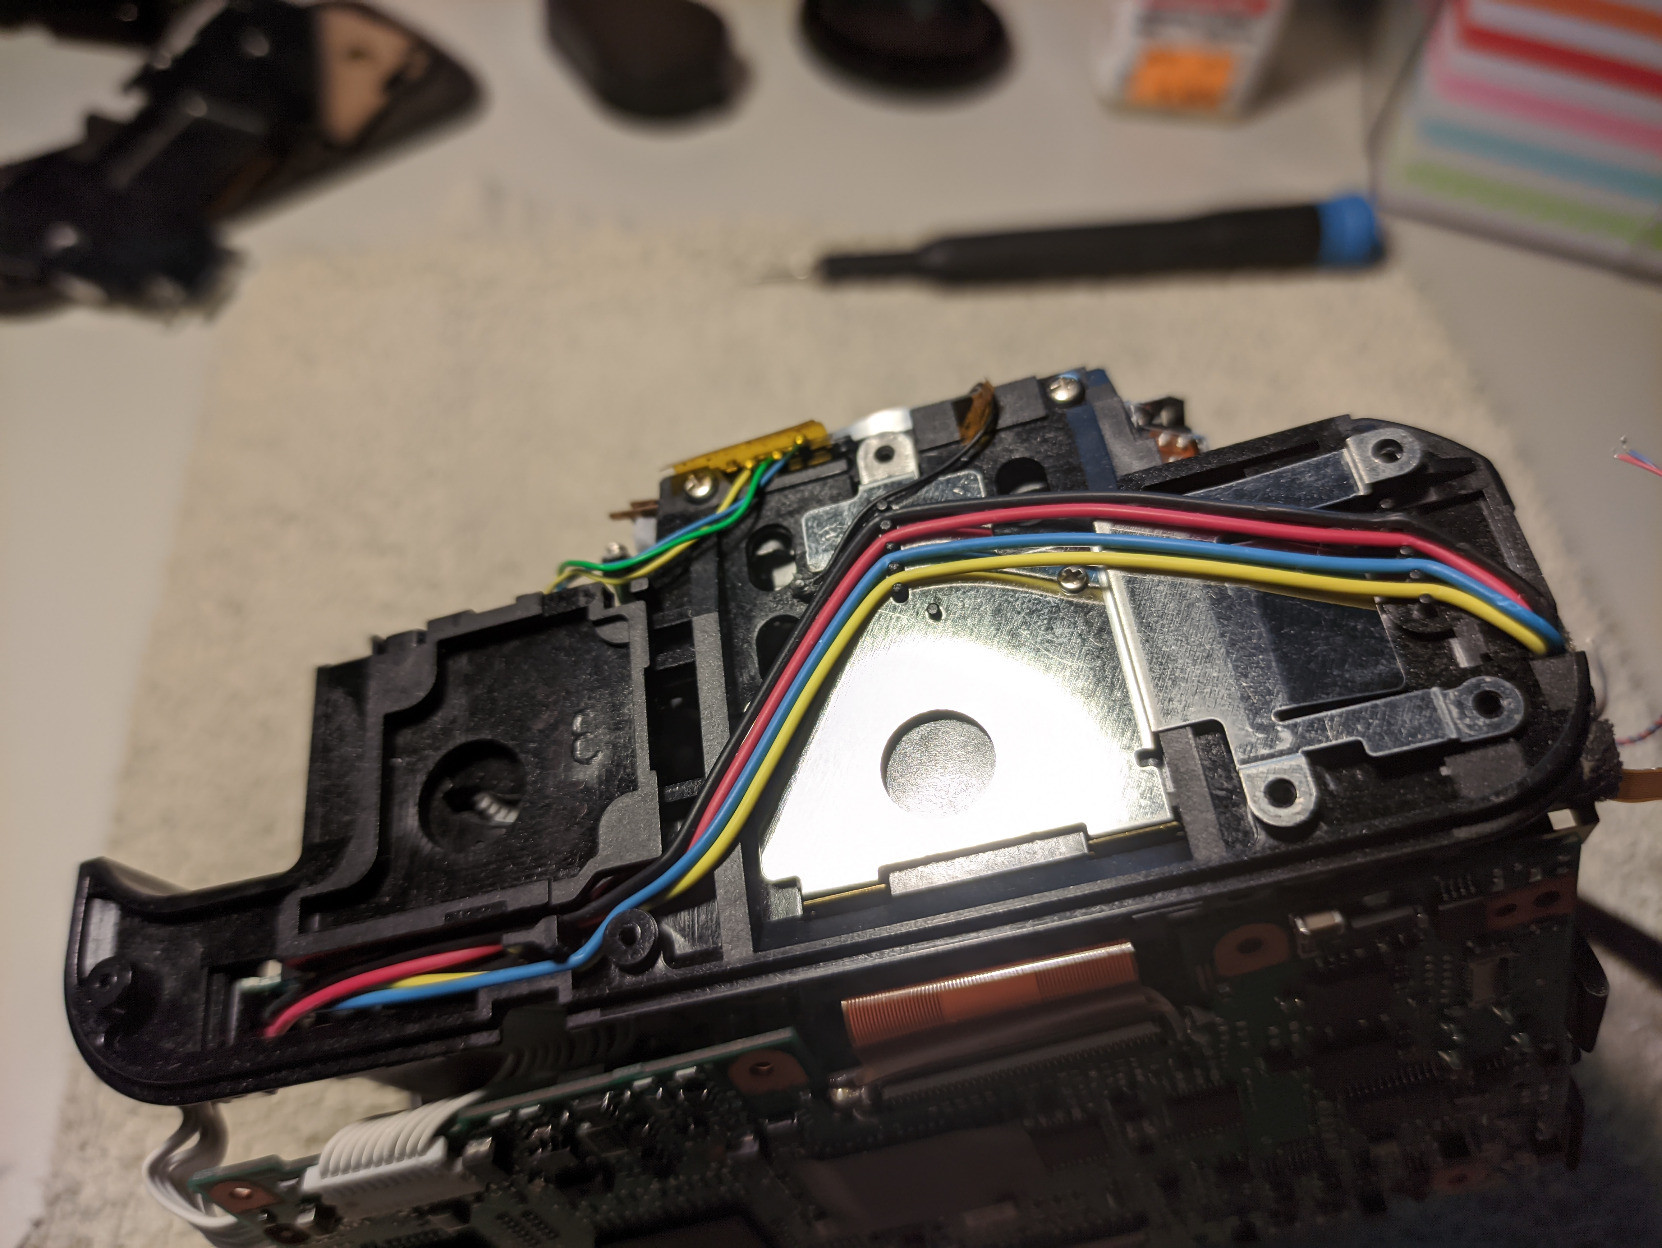
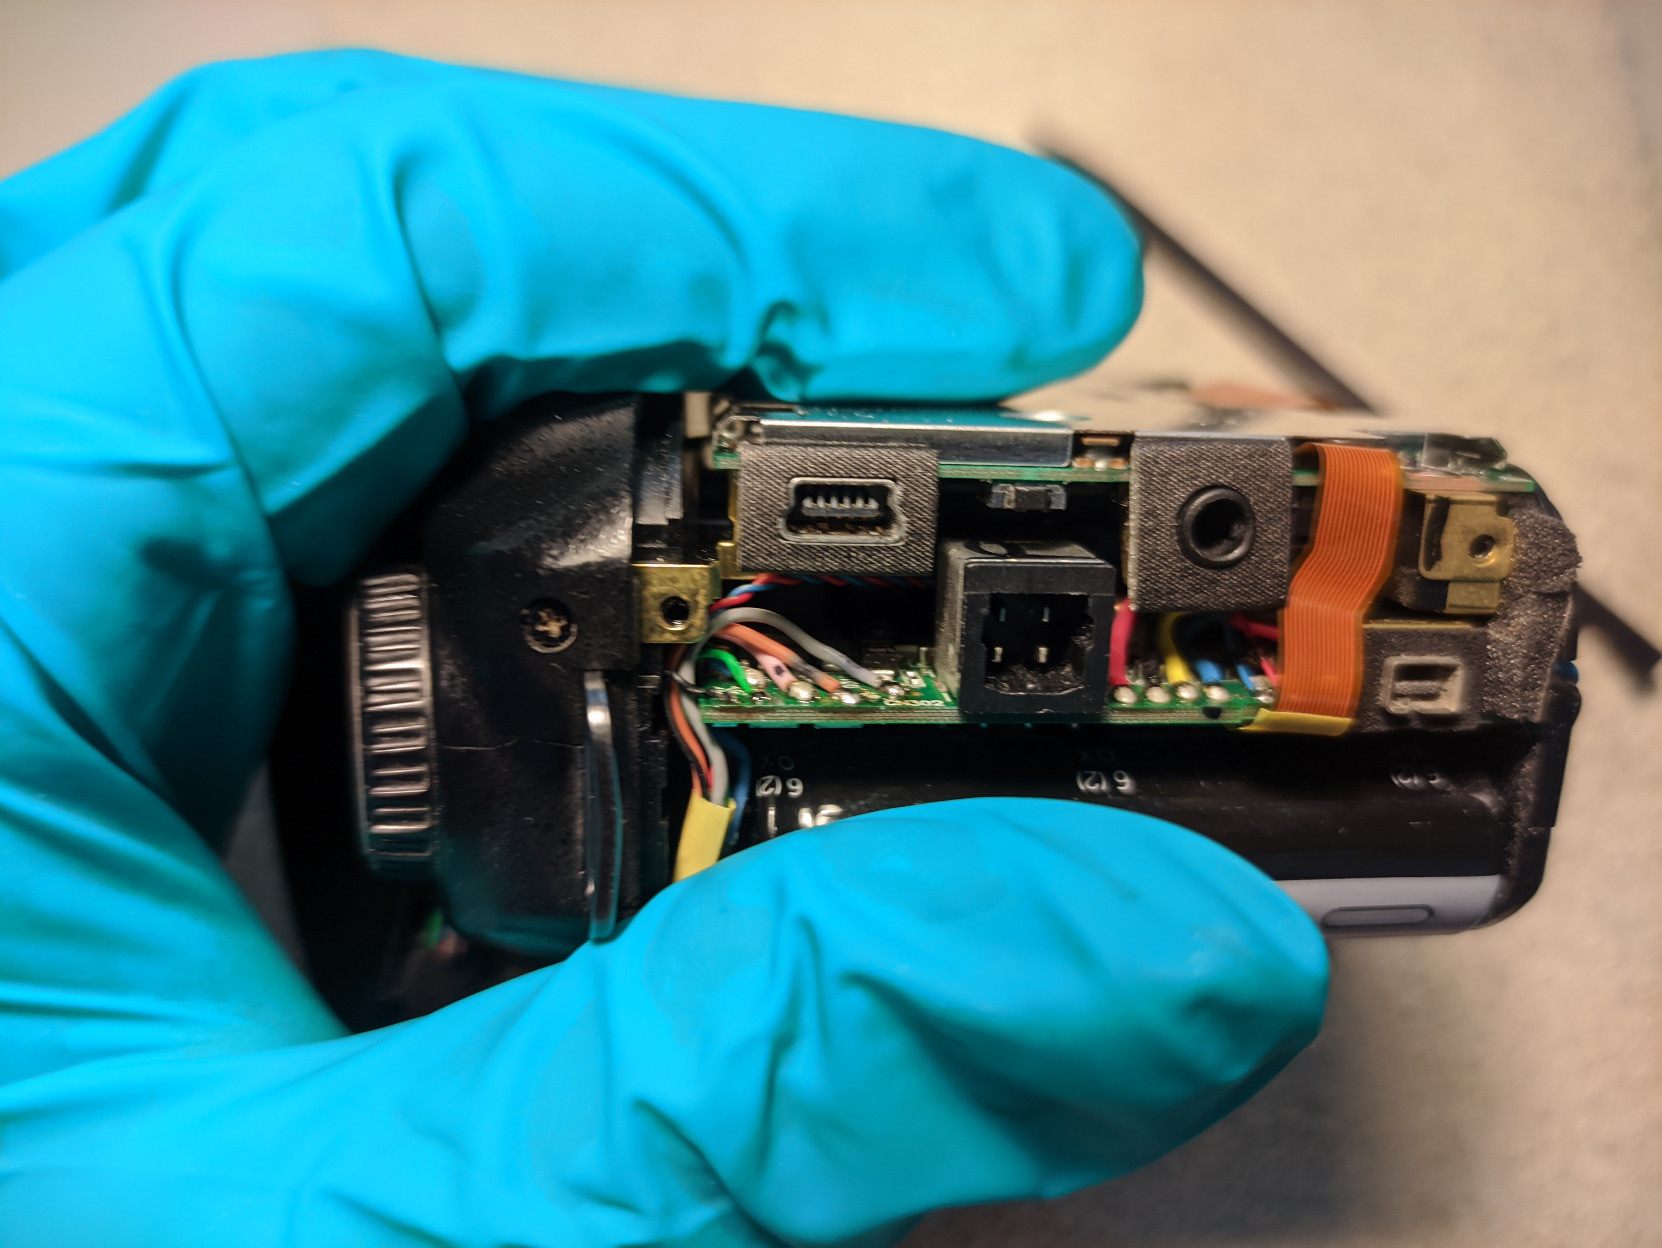
In case you're wondering how the camera looks inside, I've attached a few photos.
As far as tools go, I'm mostly using the iFixit essential electronics toolkit here, it's really good for this kind of stuff.
I'll also take this opportunity to say thank you to the wonderful creator of this blog who shared really good step by step instructions on fixing cameras with this issue:
https://davidhkblog1.blogspot.com/2018/09/fixing-nikon-d80-err-aperture-control.html
The one thing I would say is that except for the back board still held in place by 2 connectors, desoldering the wires is easier than keeping them soldered.
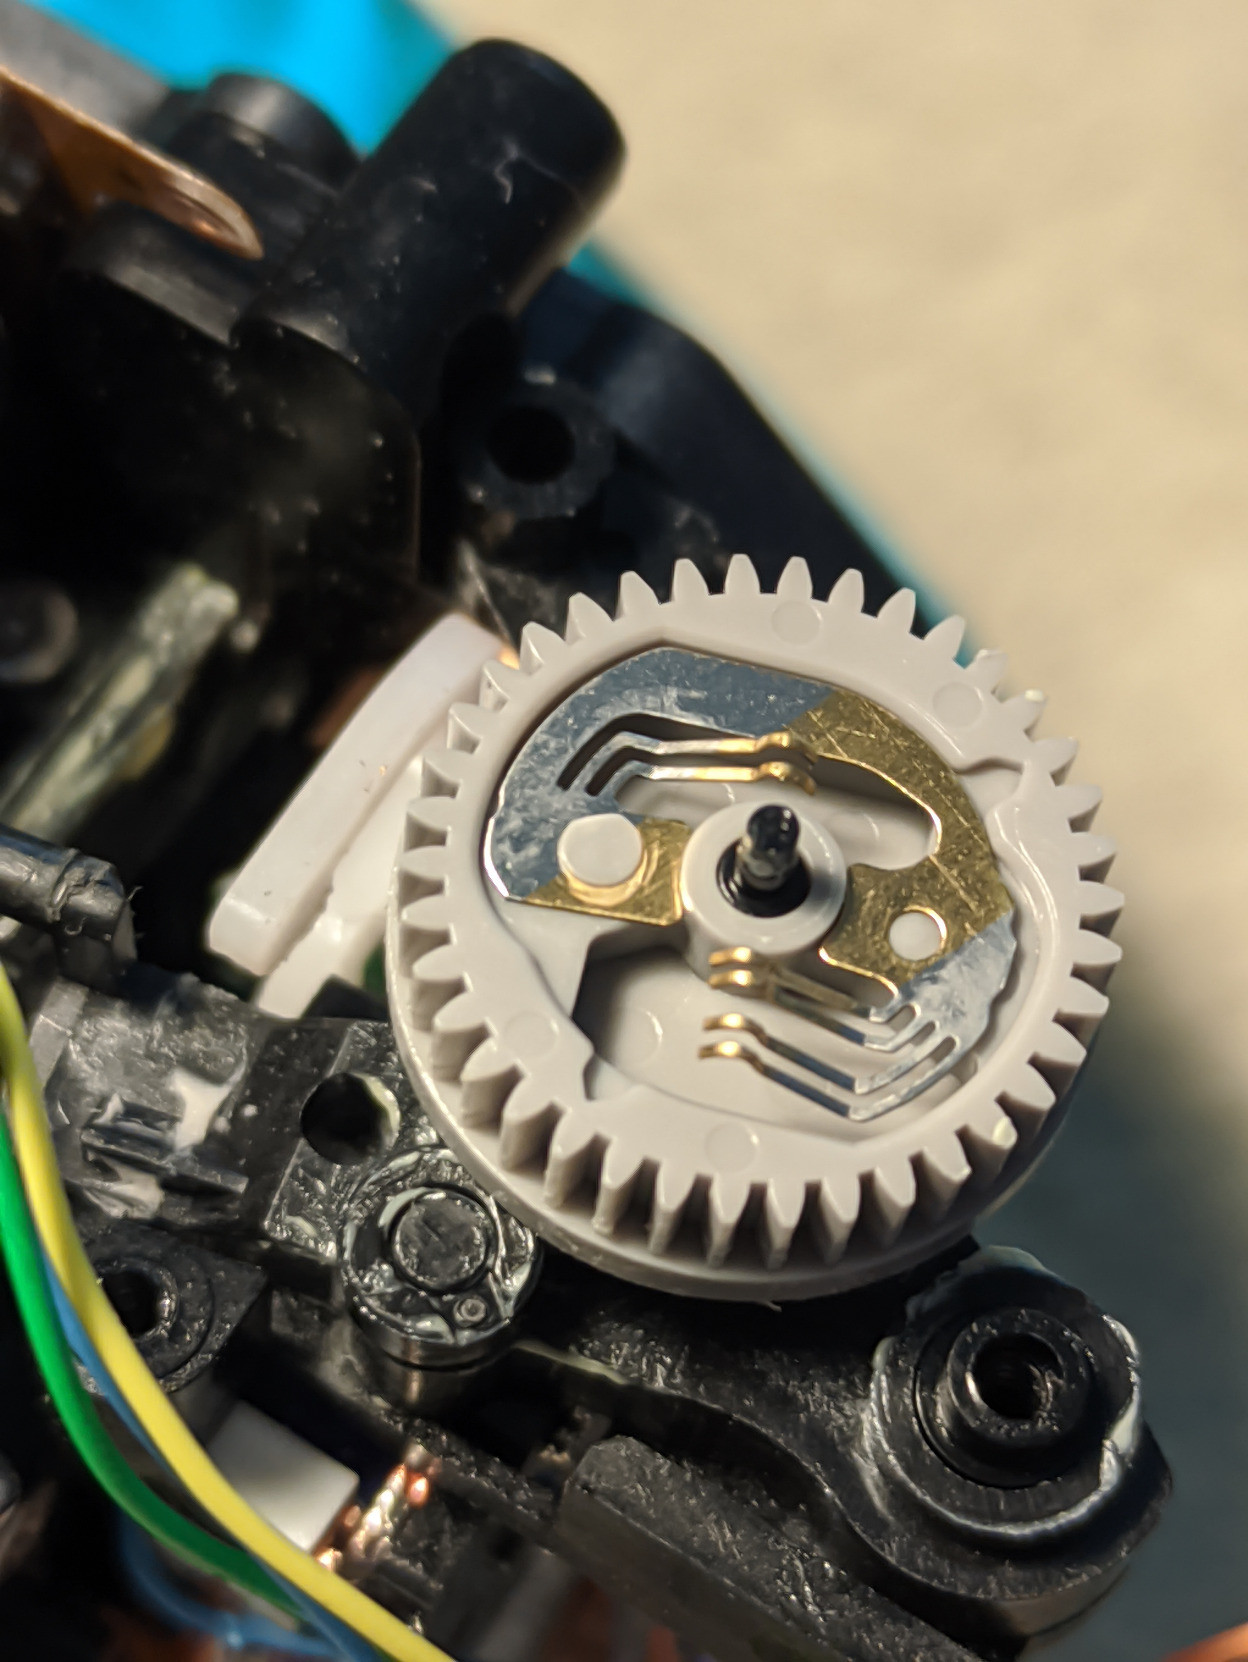
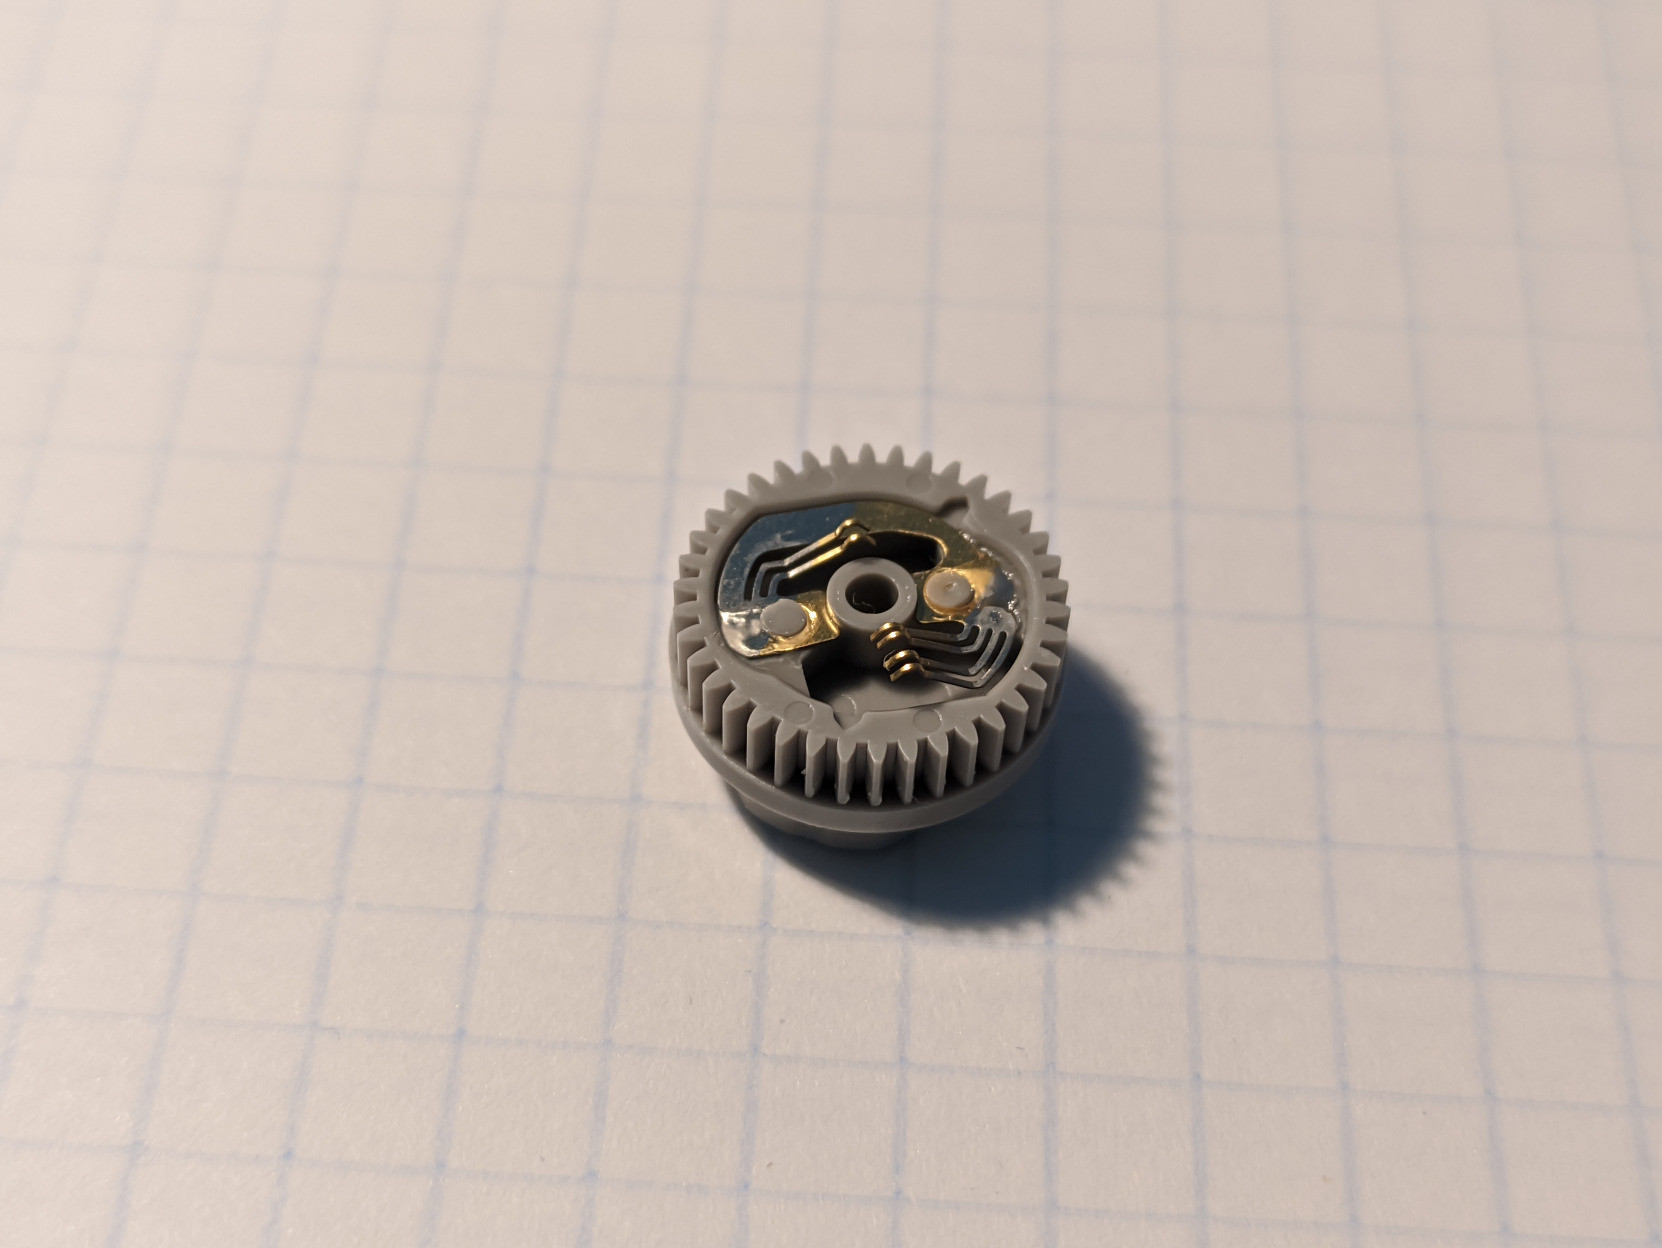
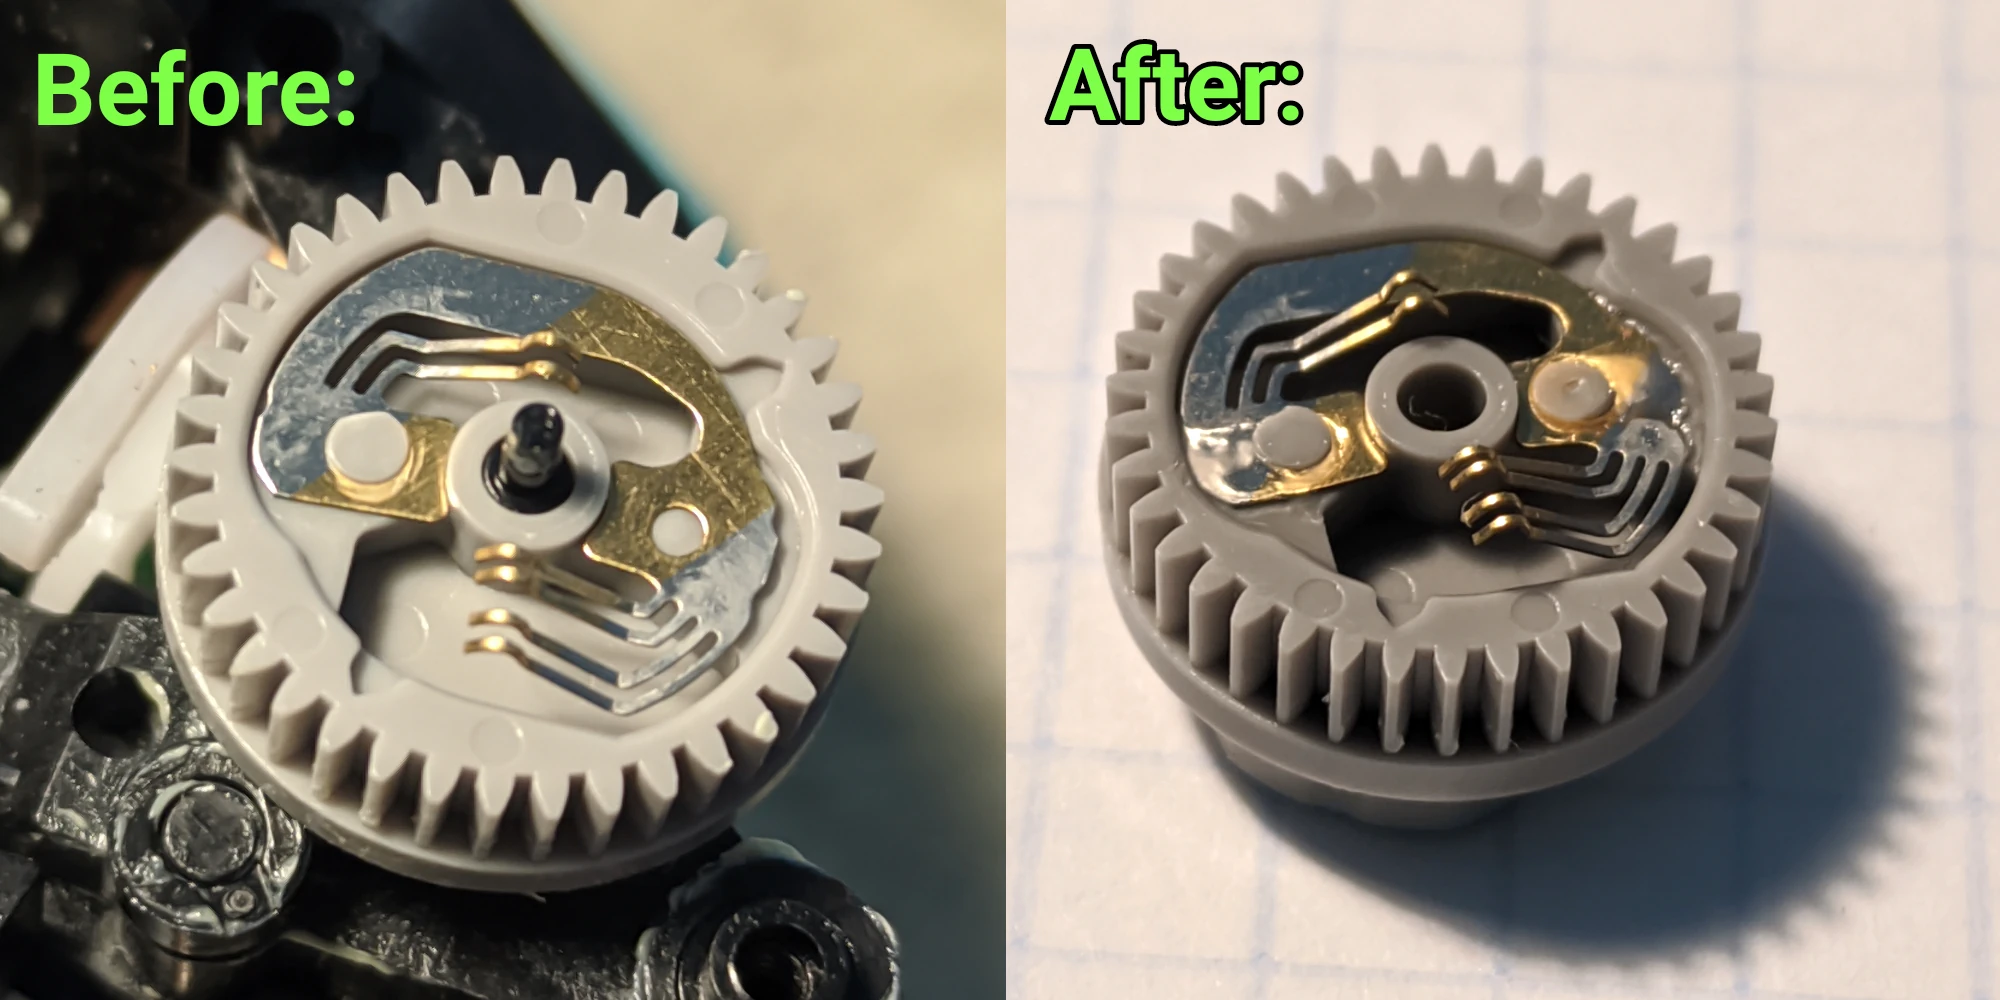
The damaged part
2021-06-06Soo my initial diagnosis was correct! A small part inside the aperture control unit got damaged. It's a cog wheel with conductive brushes attached to it by 2 plastic posts. From what I've read online, on the Nikon D80 and D90, after some time the cap of one of the posts can break off, and cause the camera to malfunction. Now that I took it out, I can repair it by replacing the posts with tiny screws or using superglue to secure the brushes in place. I'm not sure in which way I'll do it yet.
The fix
2021-06-07Another day, another update :blobcat: So, I've managed to superglue the broken piece back together, and started reassembling the camera. I have also come to realize that resoldering all of the small cables will be a pain, only because they're really close to other components and connectors, so I'll have to be super careful not to melt or damage anything. I am now glad that I got a bunch of different soldering tips for this iron, I'm gonna use a small D-type tip as the conical one was too small.
Forgot to mention, this spring in partucular was hell to get back in place. I spent like 15 minutes messing around with tweezers trying to do it.
And here's a photo comparing the part before and after the repair.
Reassembly
2021-06-08So I suppose today's update is slightly more boring, it was a lot of screwing things together and soldering. I should have taken more photos but oh well, I was already fairly tired when I started working on this today. Tomorrow I'll have to resolder 6 wires in a really tight space, and after that it should be mostly screwing things together. Hopefully the camera will be working again soon :blobcat: P.S.: I've messed up and had to delete and redraft this 3 times lmao I really am exhausted.
2021-06-09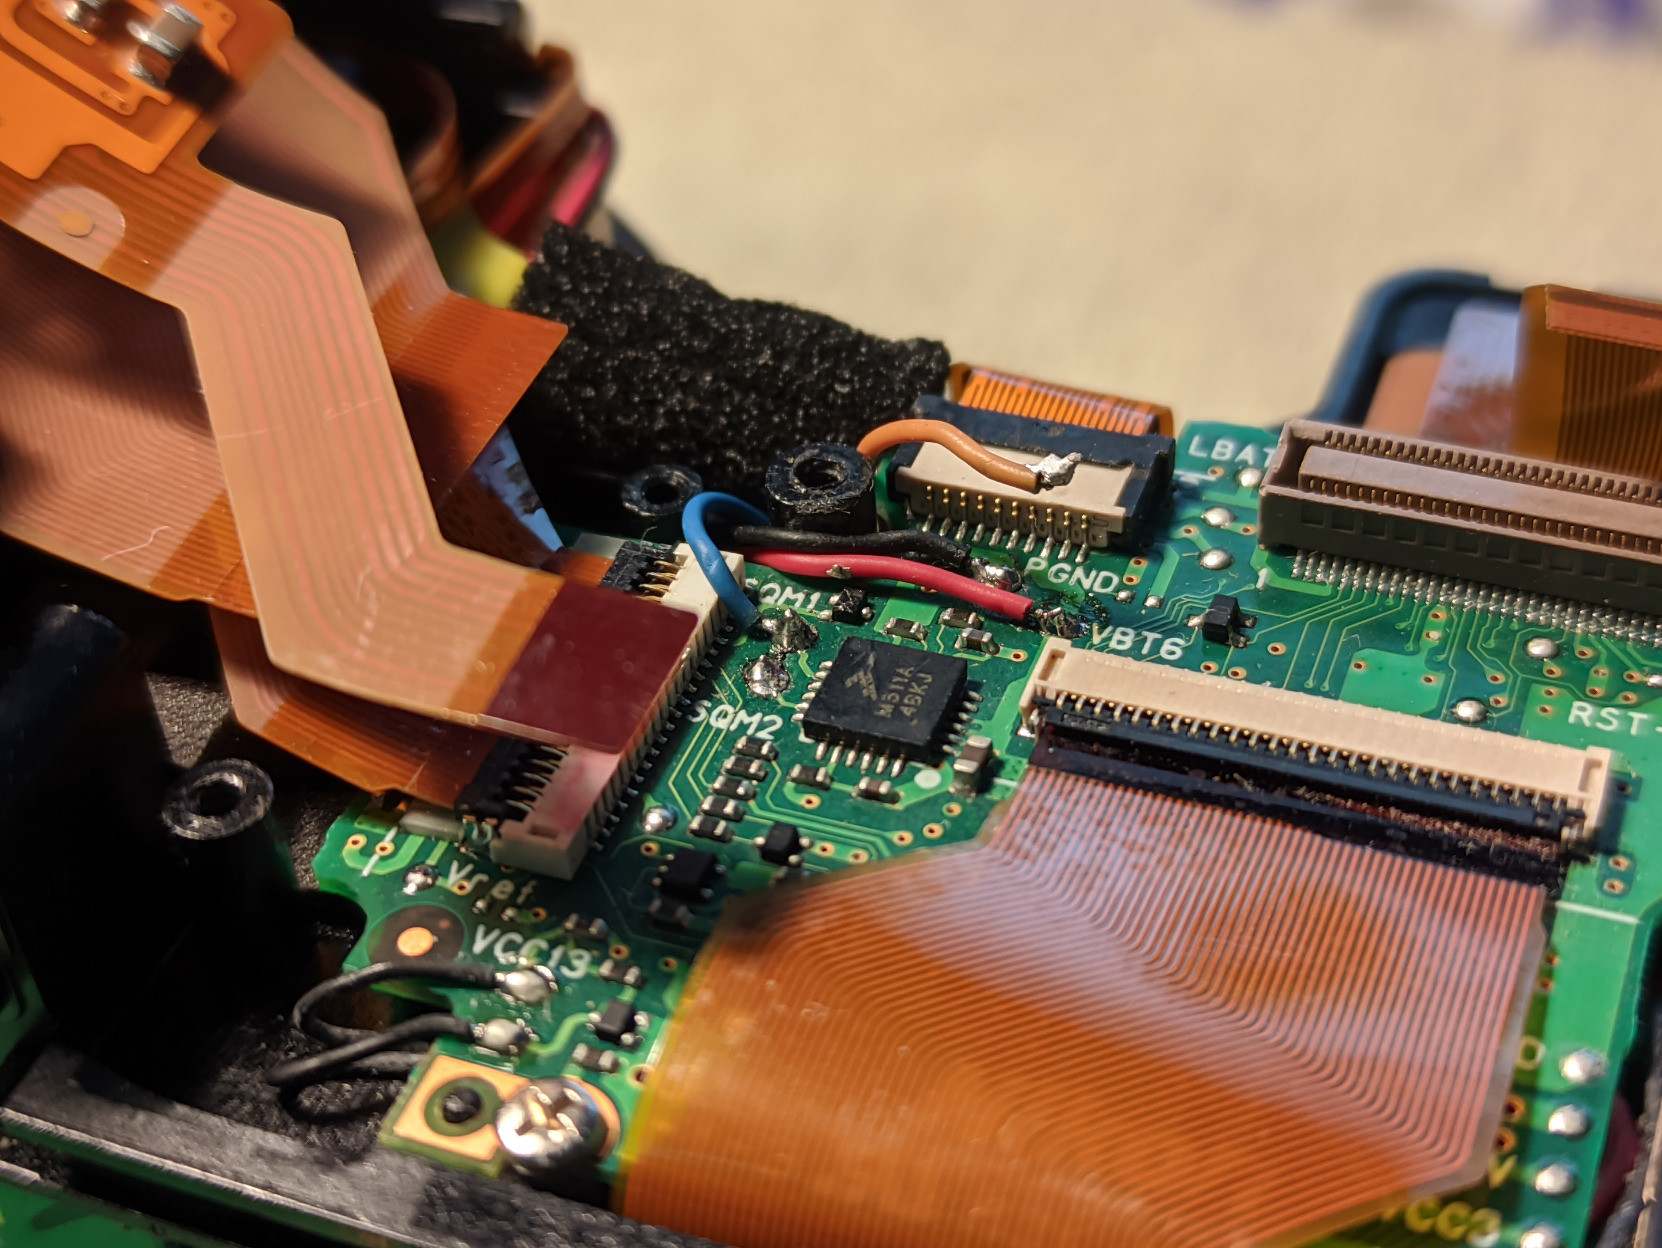
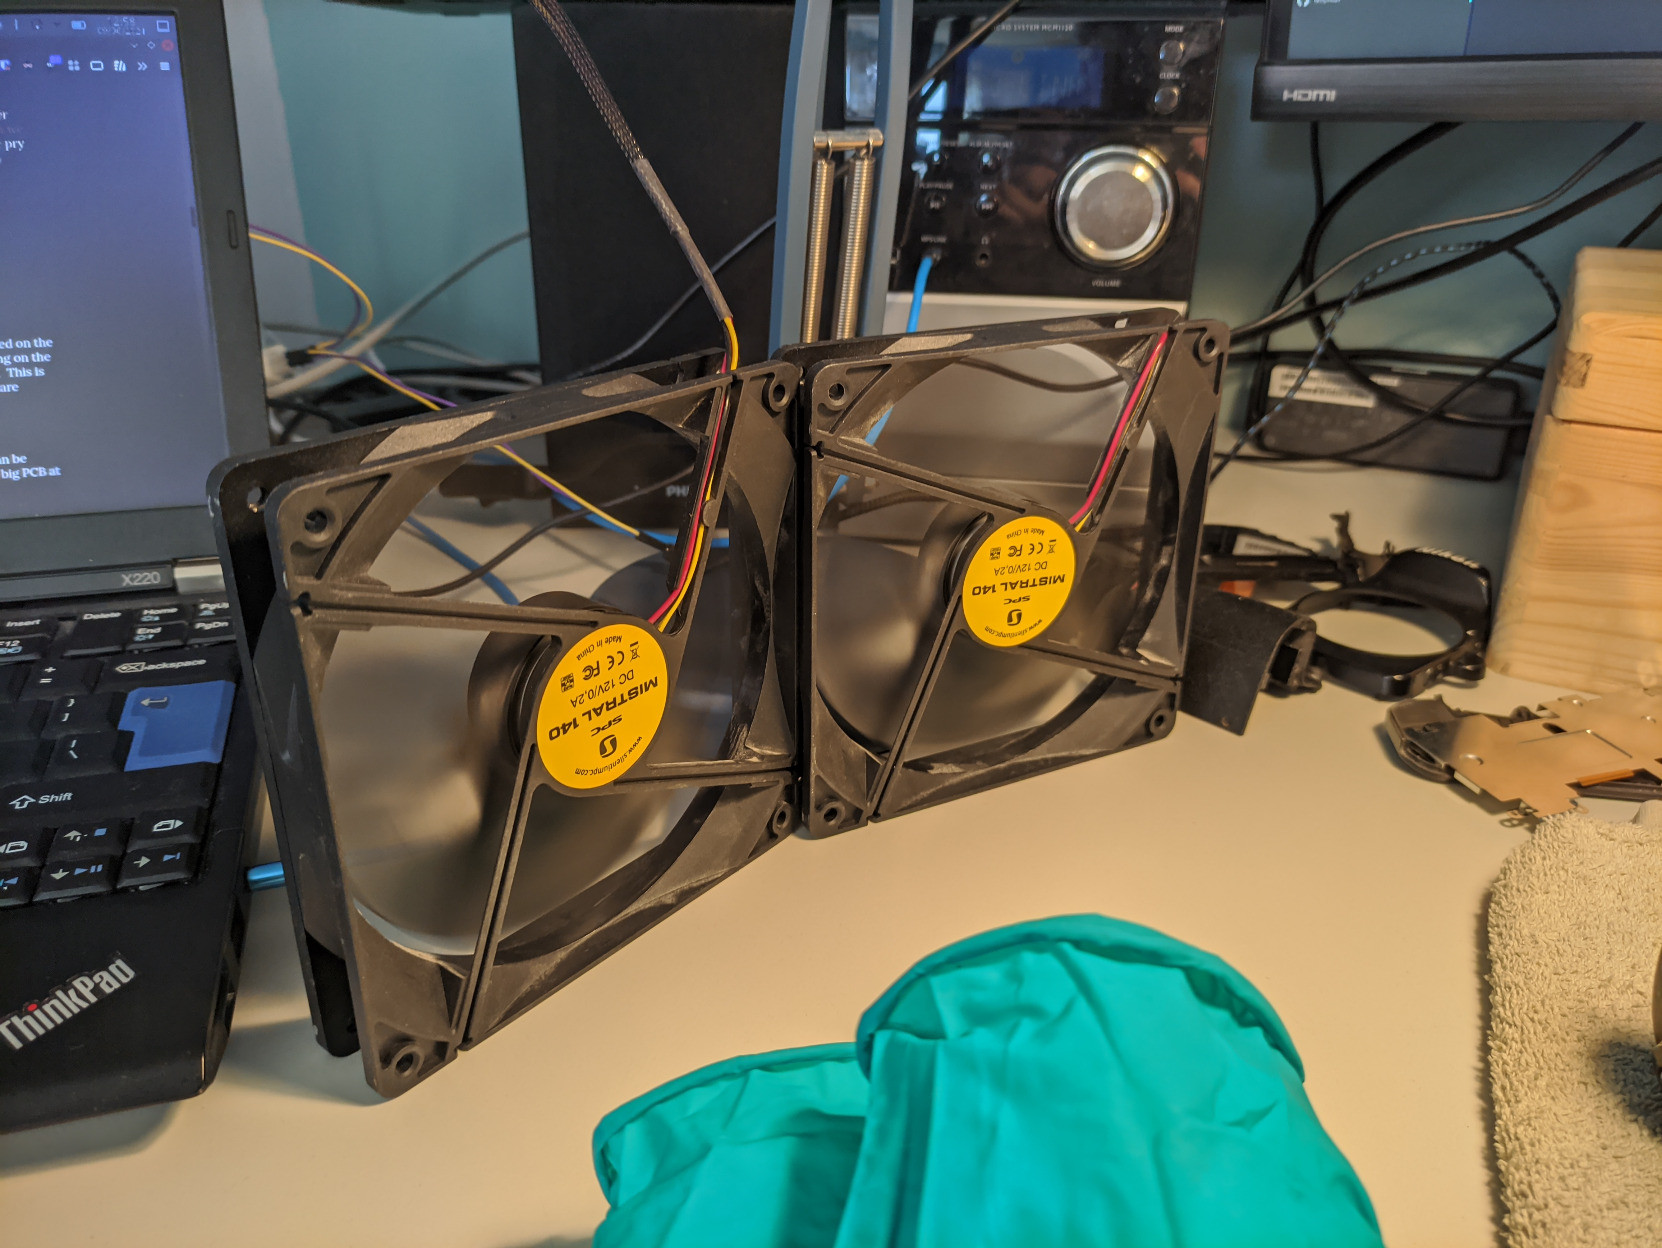
Time for another update! I've finally taken out some fans to blow the flux fumes away from my face when soldering instead of blowing them away myself (must have looked really funny). I've also resoldered the wires I mentioned in the previous post, I also attached a photo from after cleaning and tinning the pads, and one when I was done resoldering the cables. After that, the reassembly was relatively easy as I didn't need to take out the soldering iron again.
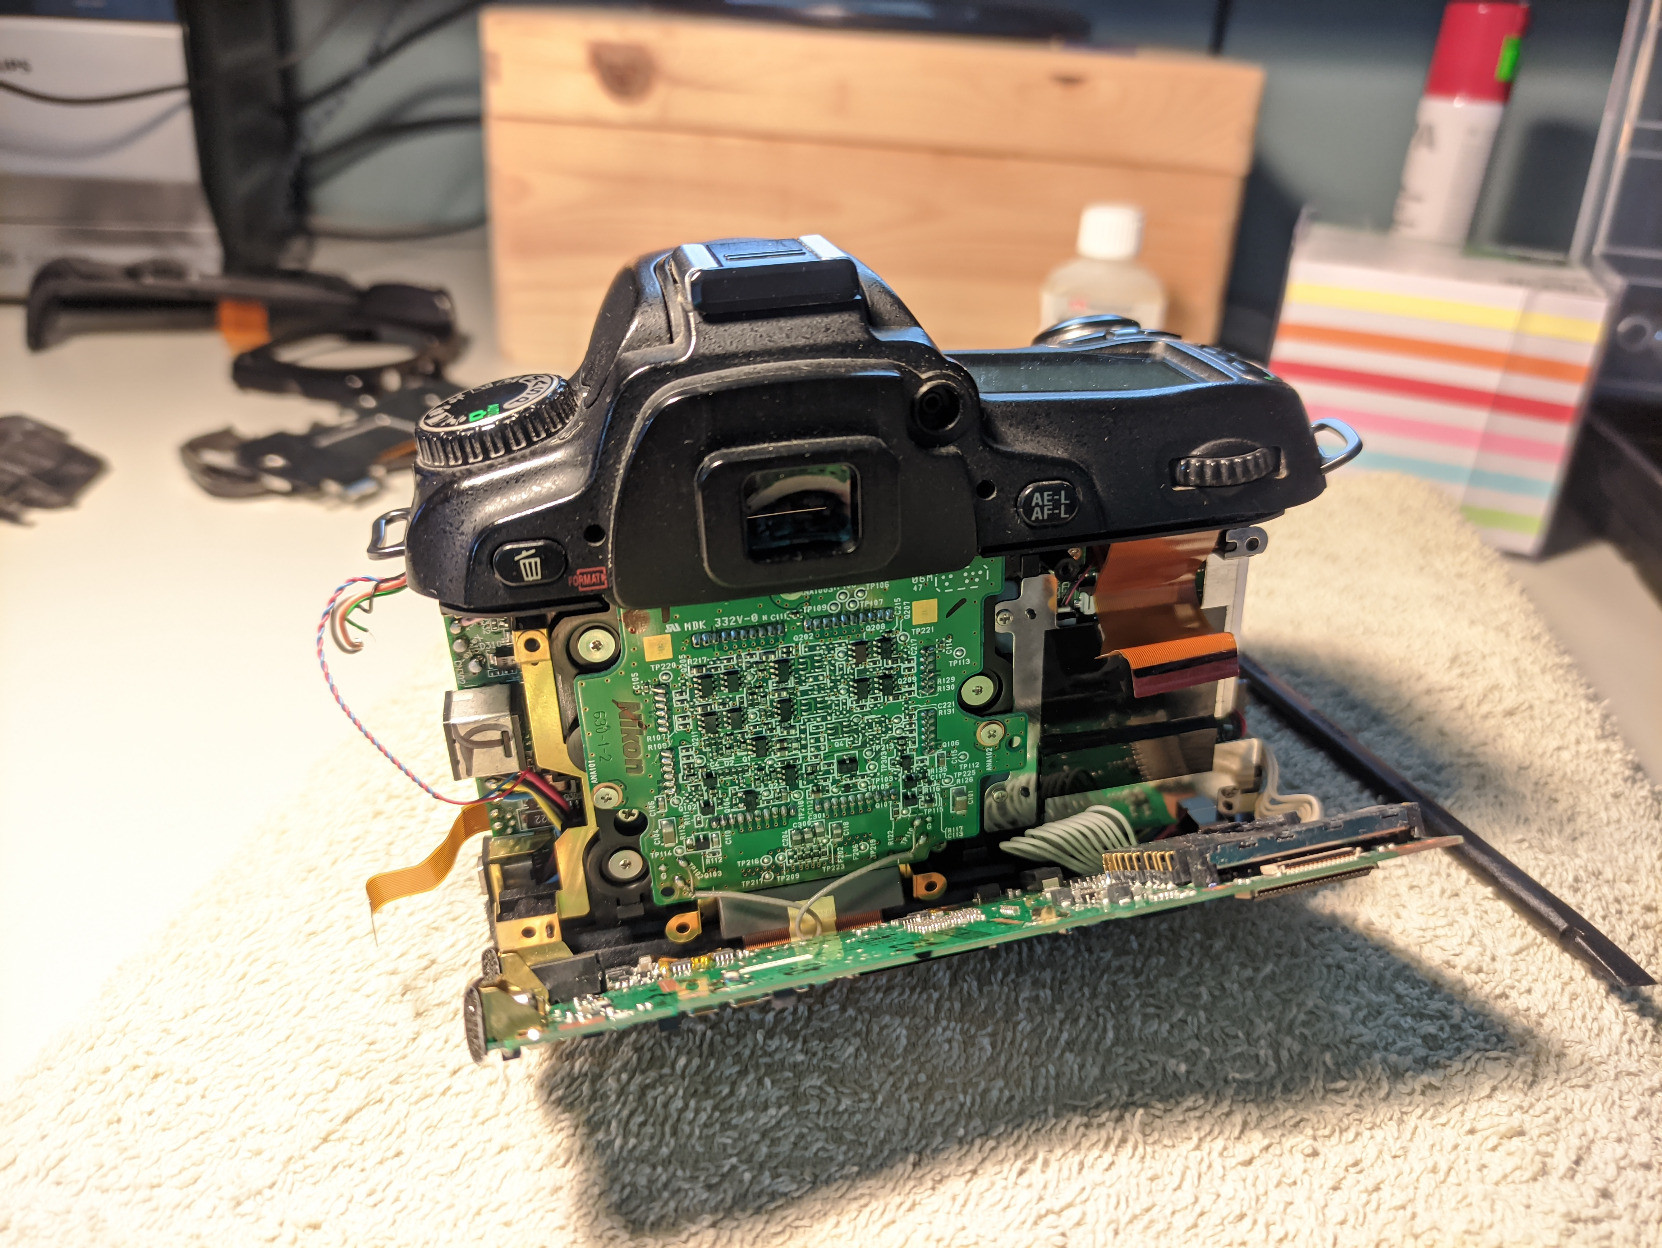
I took a lot of photos this time but they're fairly boring, very similar to the photos I've posted when disassembling the camera. Still I'll share a few :)
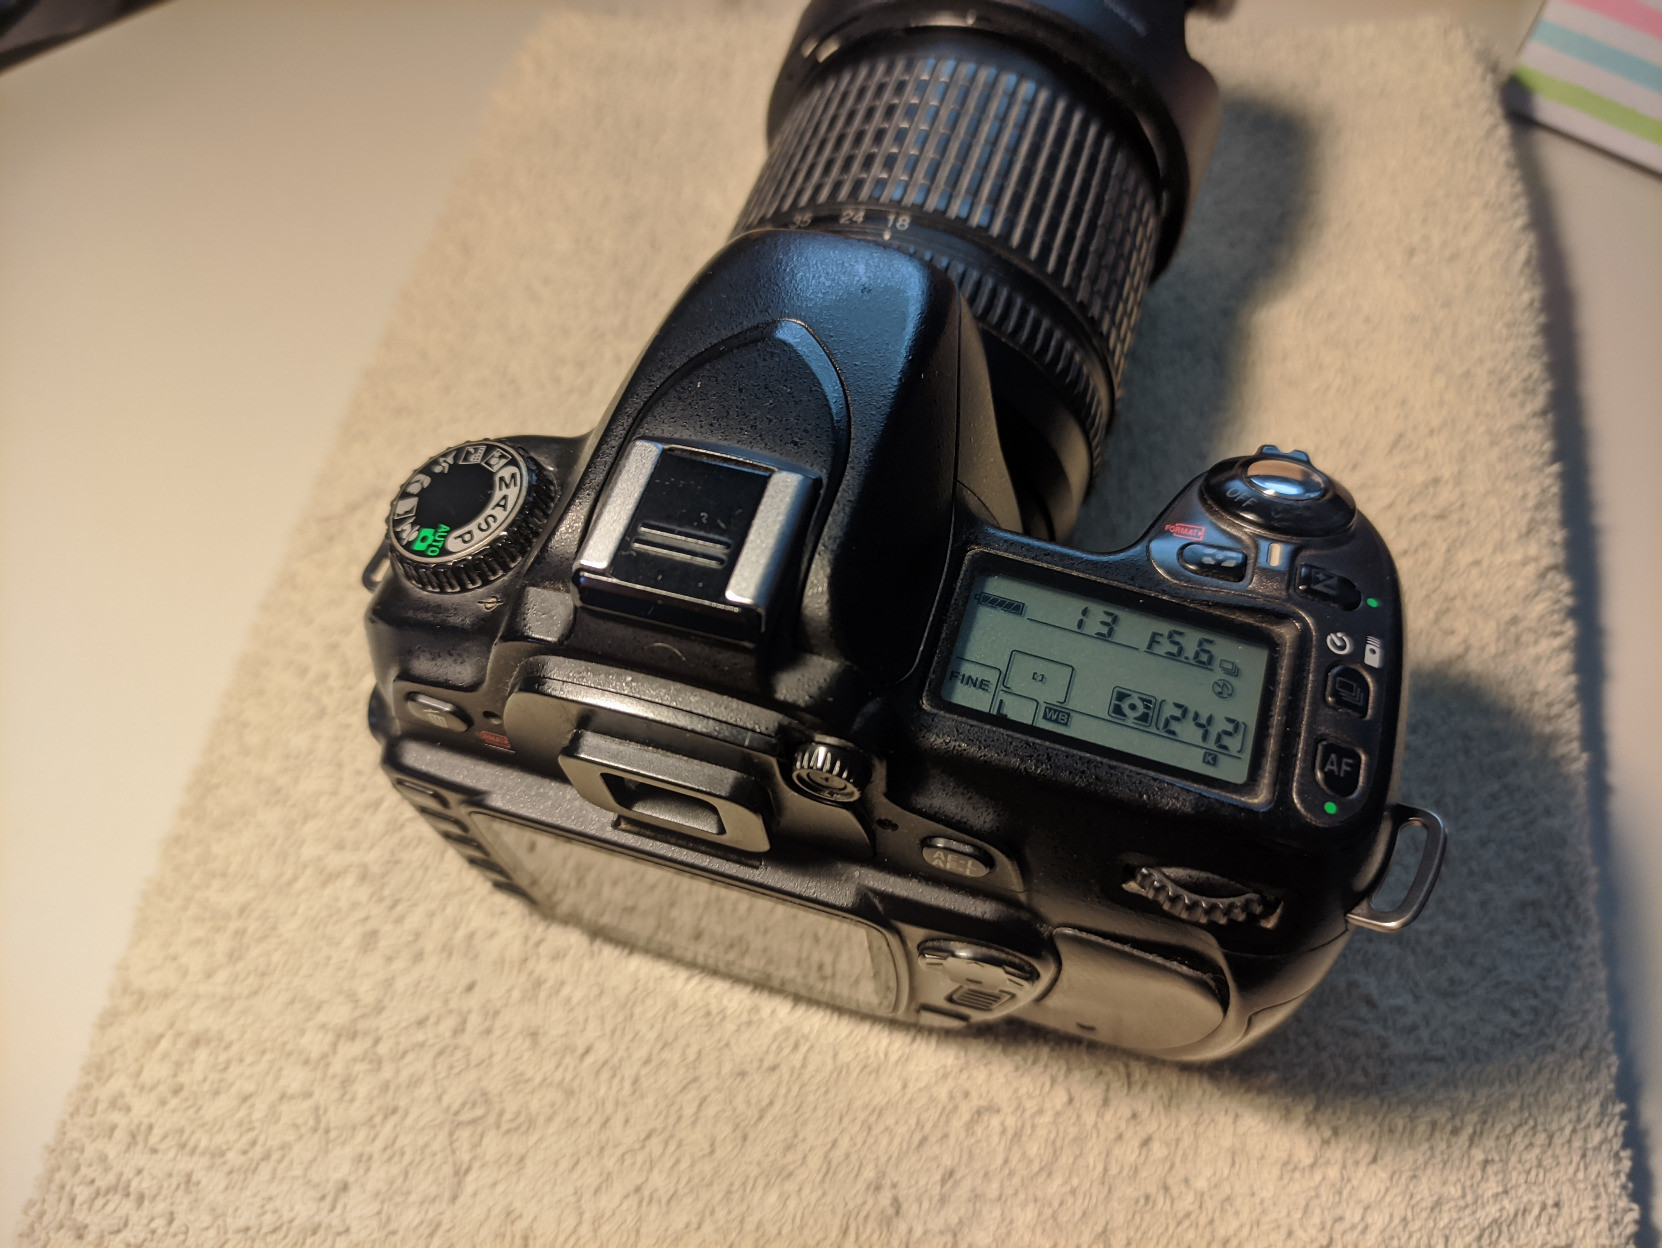
It Works!
But, I bet you're all wondering what happened after powering it on for the first time... Well, it works! Initially it still said "Err", but after I pressed the trigger once, it realized there's no longer a problem and went back to ordinary!
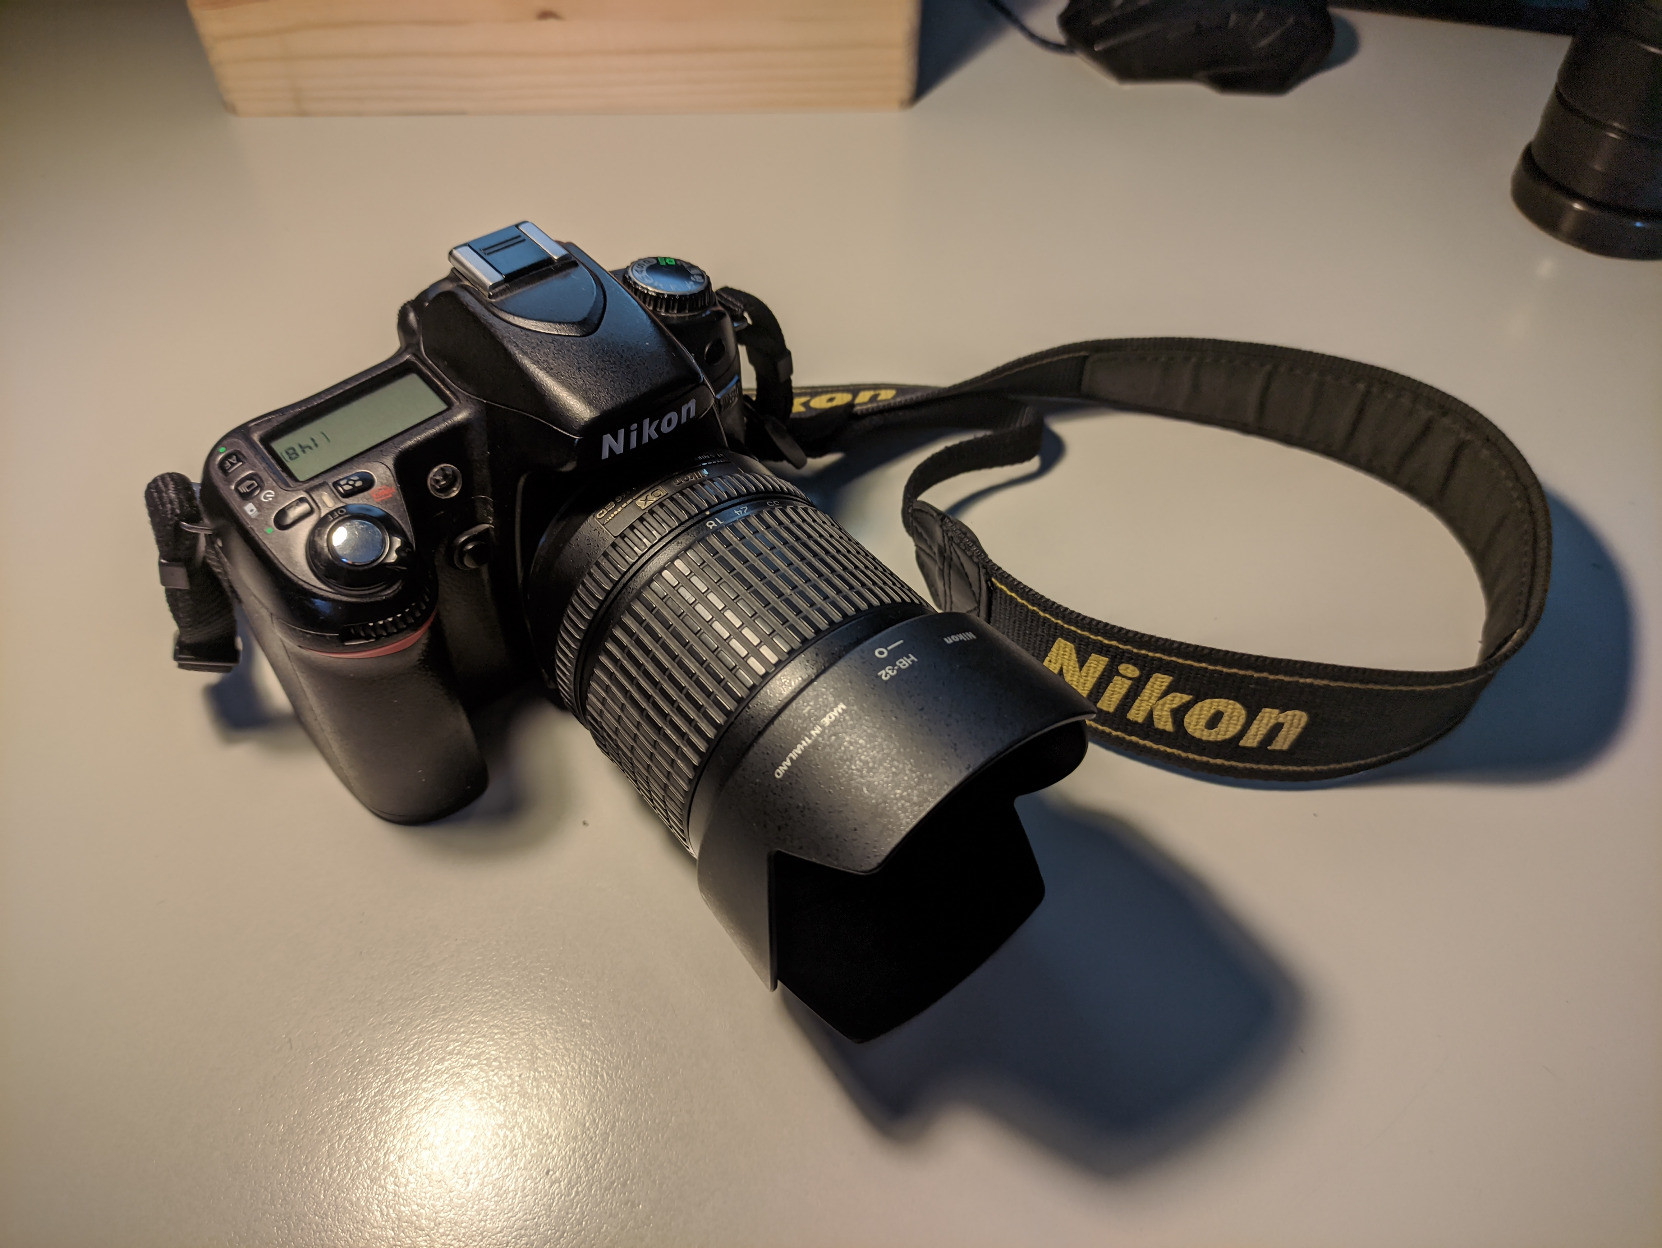
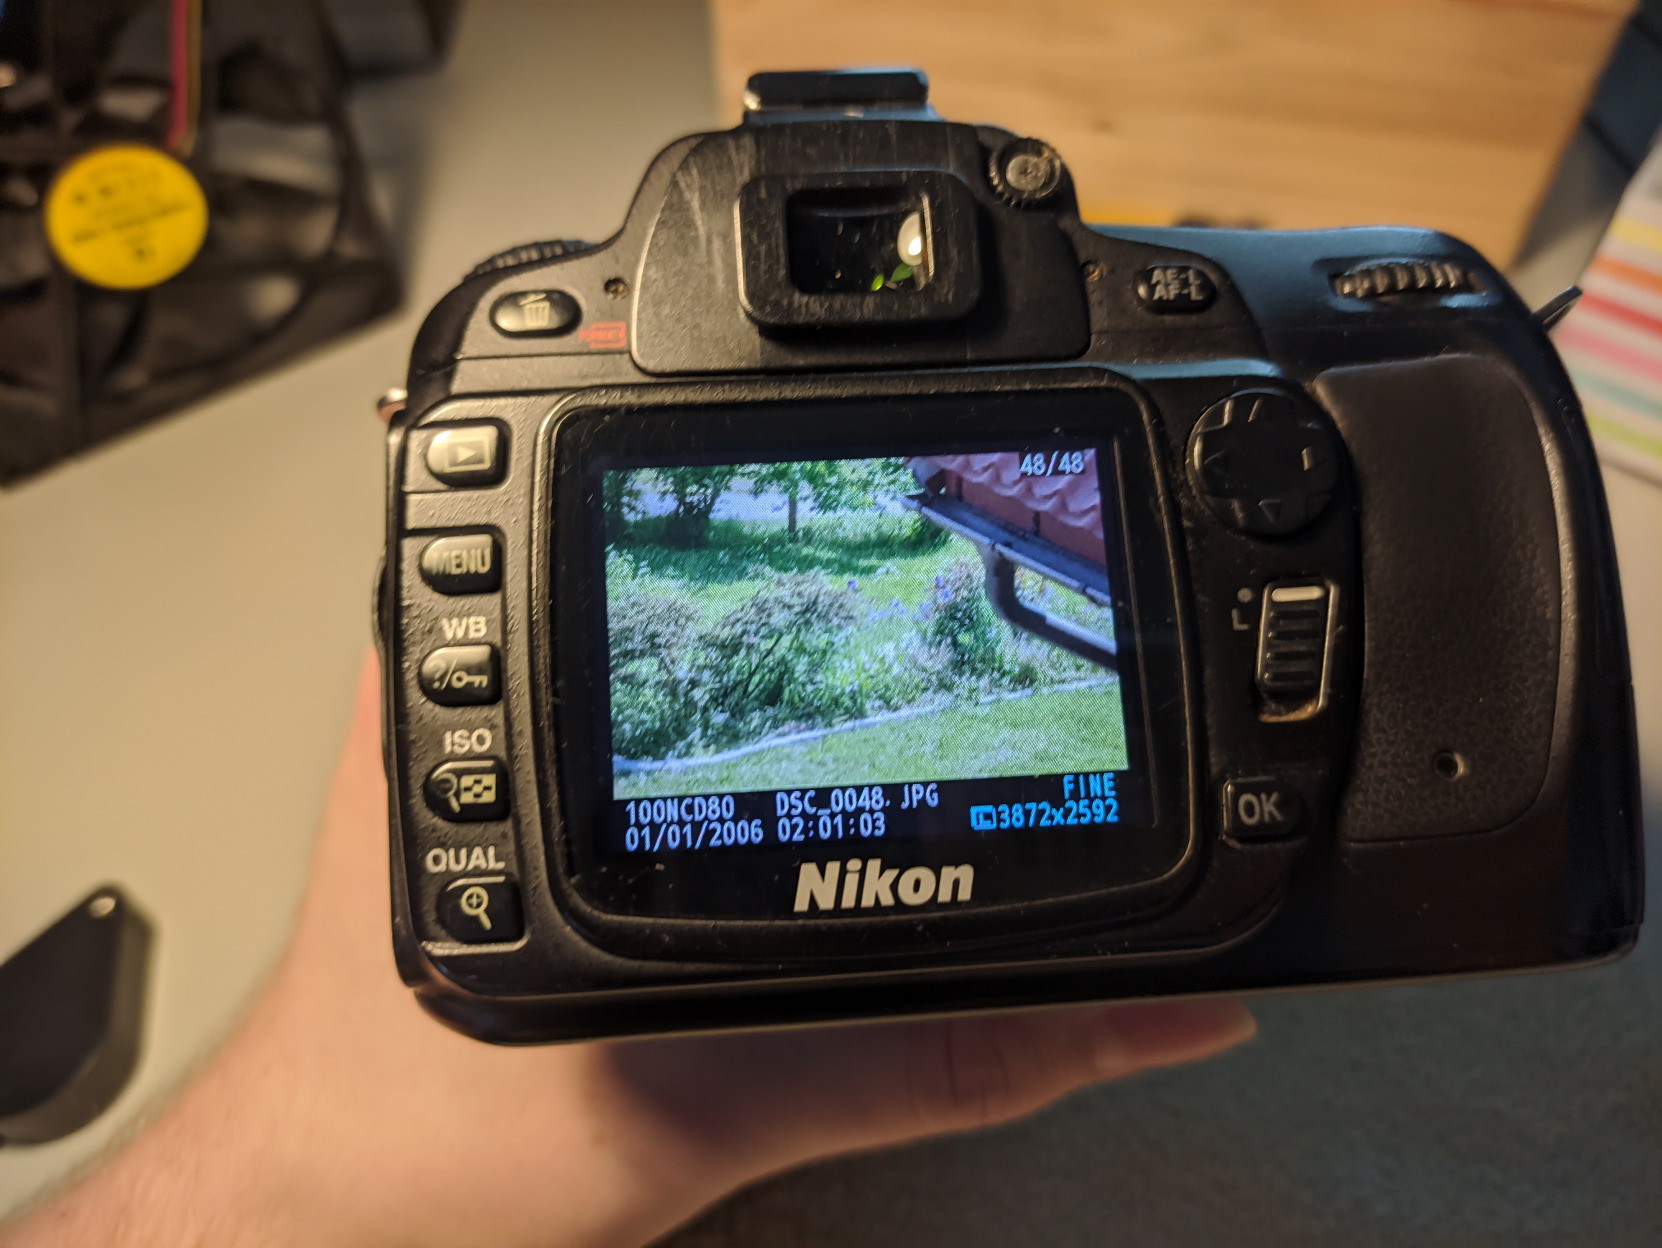
To make the ending more satisfying, here's a few photos I took with it just now: